4.2 KiB
| title | slug | date | tags | ||
|---|---|---|---|---|---|
| Installing a solar-powered security light | /installing-a-security-light/ | 2025-11-16 |
|

I recently installed a security light in the back garden. I wanted it to be "dumb" (not IoT-linked) and solar-powered with battery power as a fallback.
The Auraglow Hybrid met these criteria and was very cheap.
Normally, I would pay more for a higher quality device but the reviews were uniformly good and I wanted to see how plausible a solar-powered light would be in English winters, before shelling out any more.

I placed it above the garage side-door to illuminate the garden and the pathway to the garage from the Command Center.
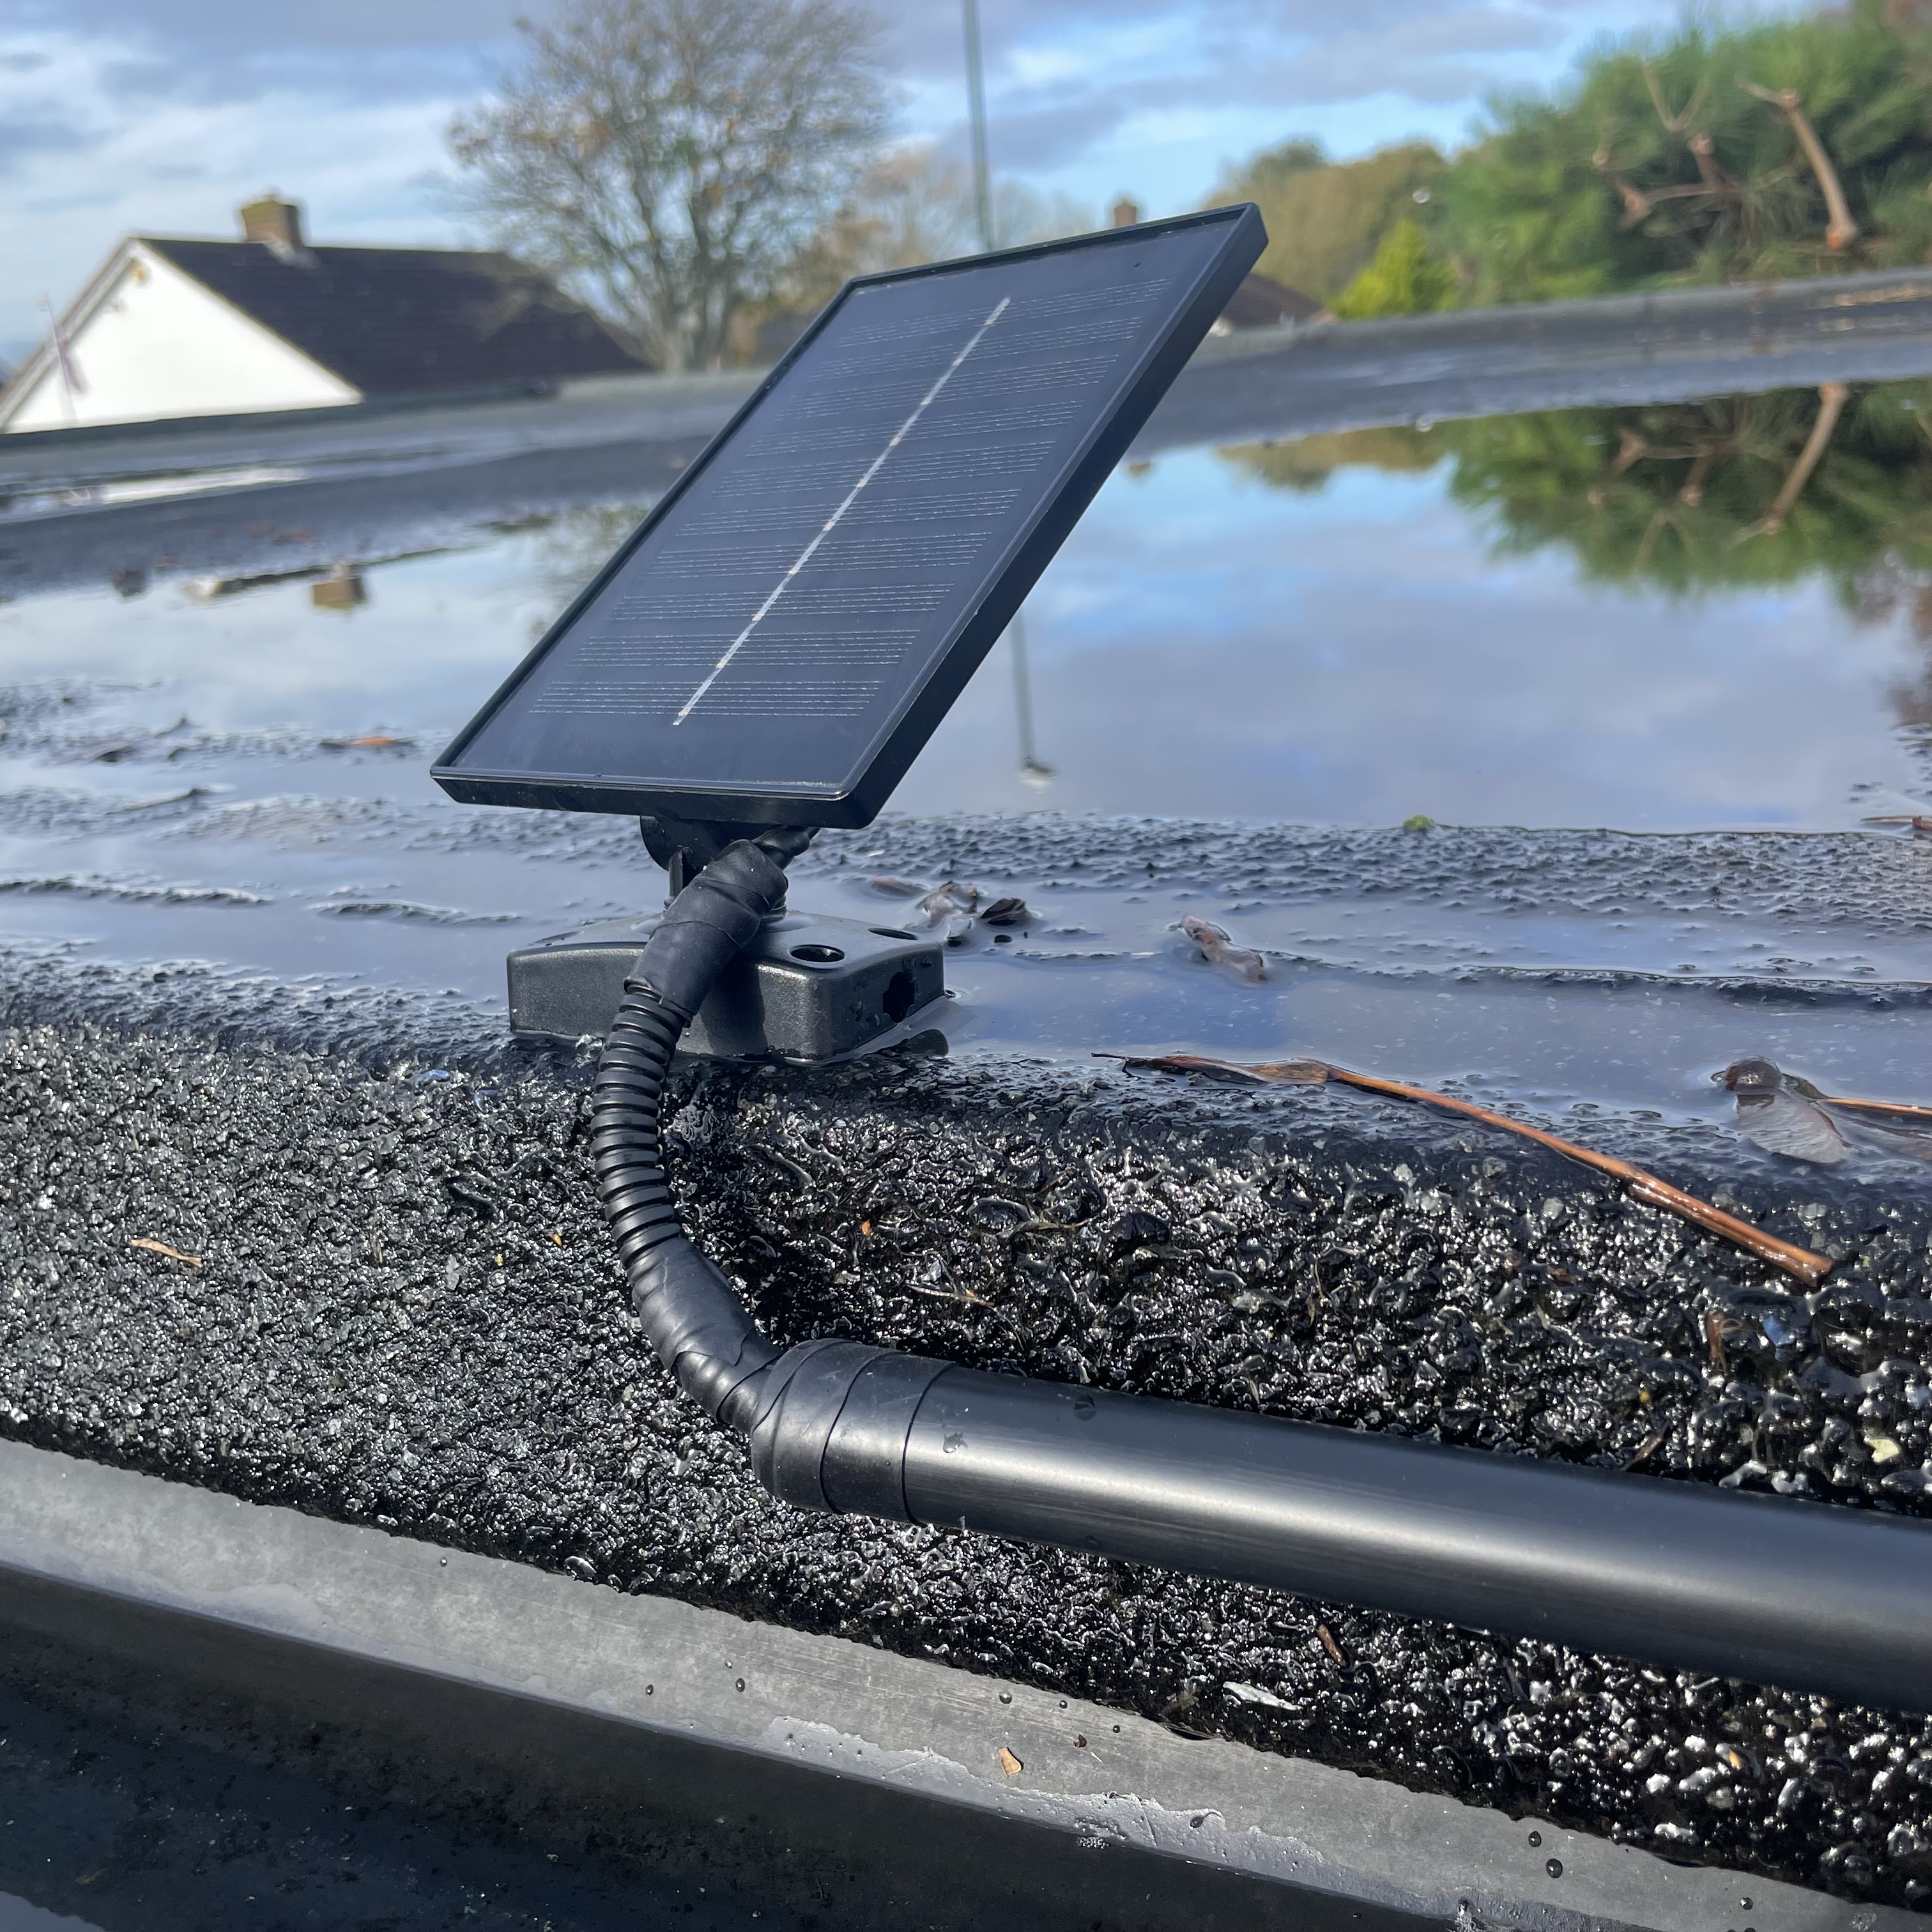
In order to maximise access to sunlight, I had to use the full-length of the solar panel cable (5m) to stretch it round from the back of the garage (which is south-facing) to the side door.
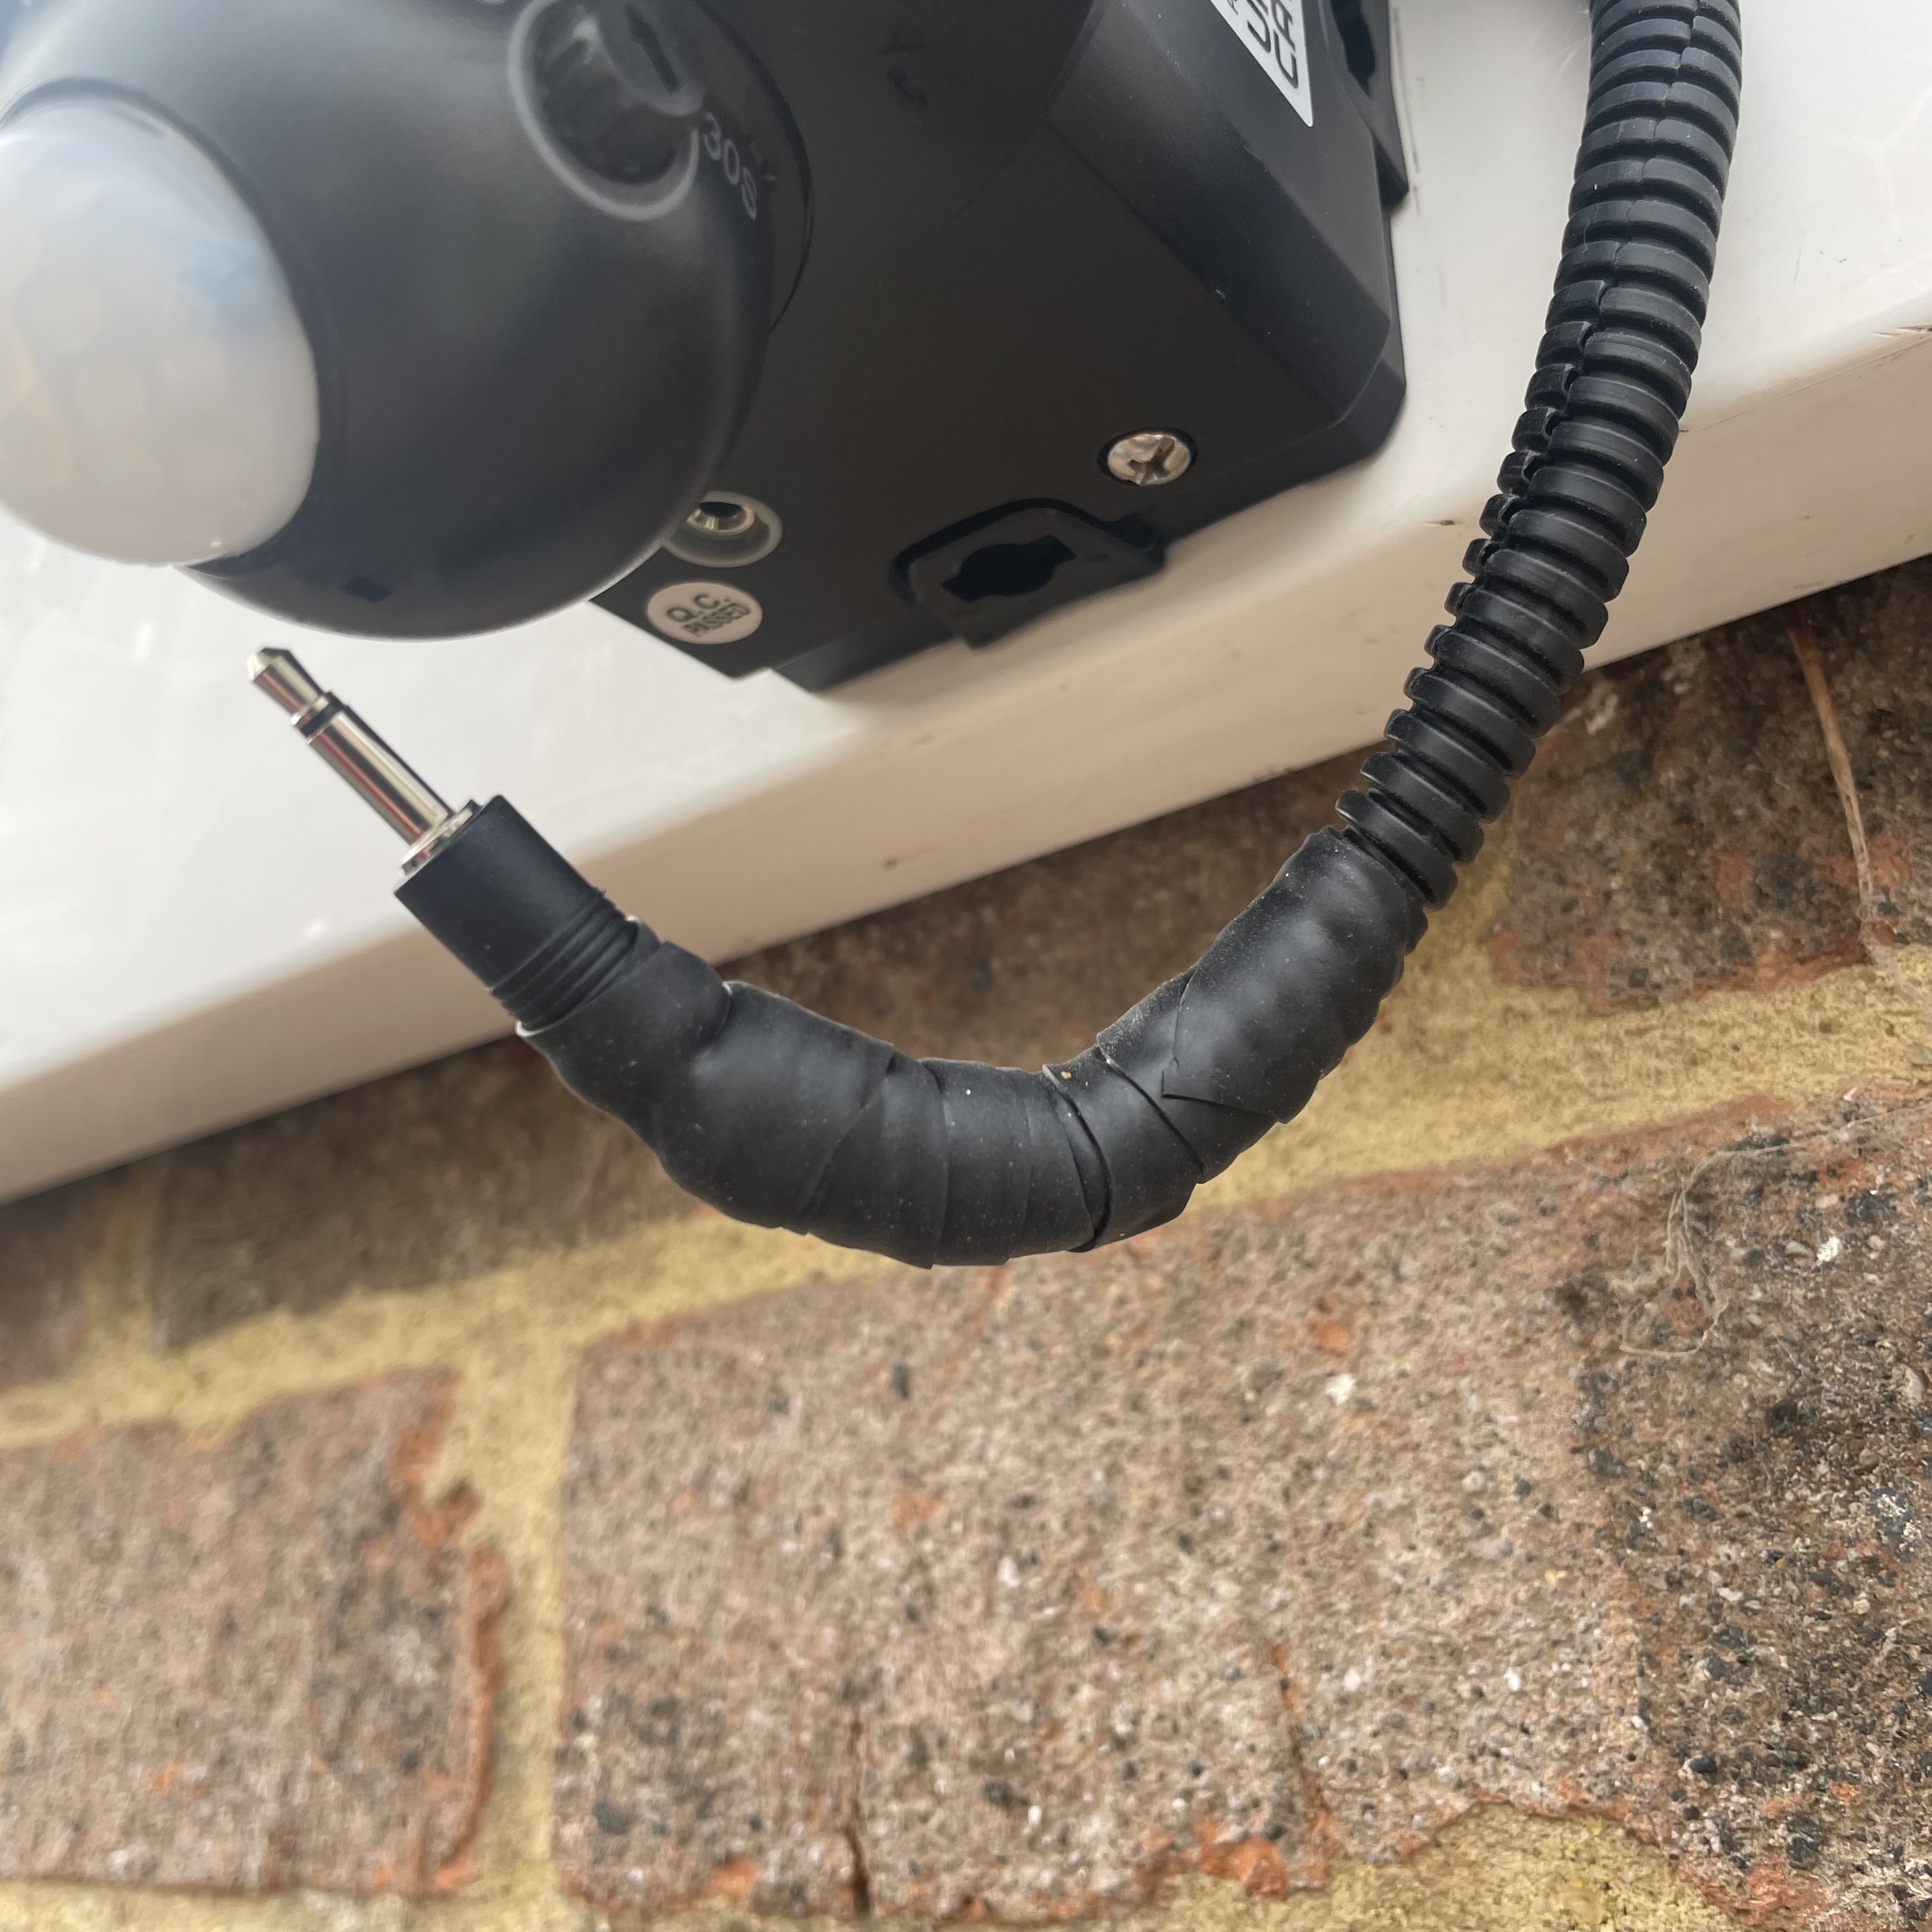
The cable connecting the solar panel to the light is a 3.5mm TRS cable - the same as those used for earphones. It's very flimsy, like a pair of liquorice laces and once I had tacked it along the roof of the garage I started to worry about how well it would endure, longer-term. I think this is the only aspect of the light where you get what you pay for. The loose wire also looked a bit rubbish and the aesthetics of this grated on me.
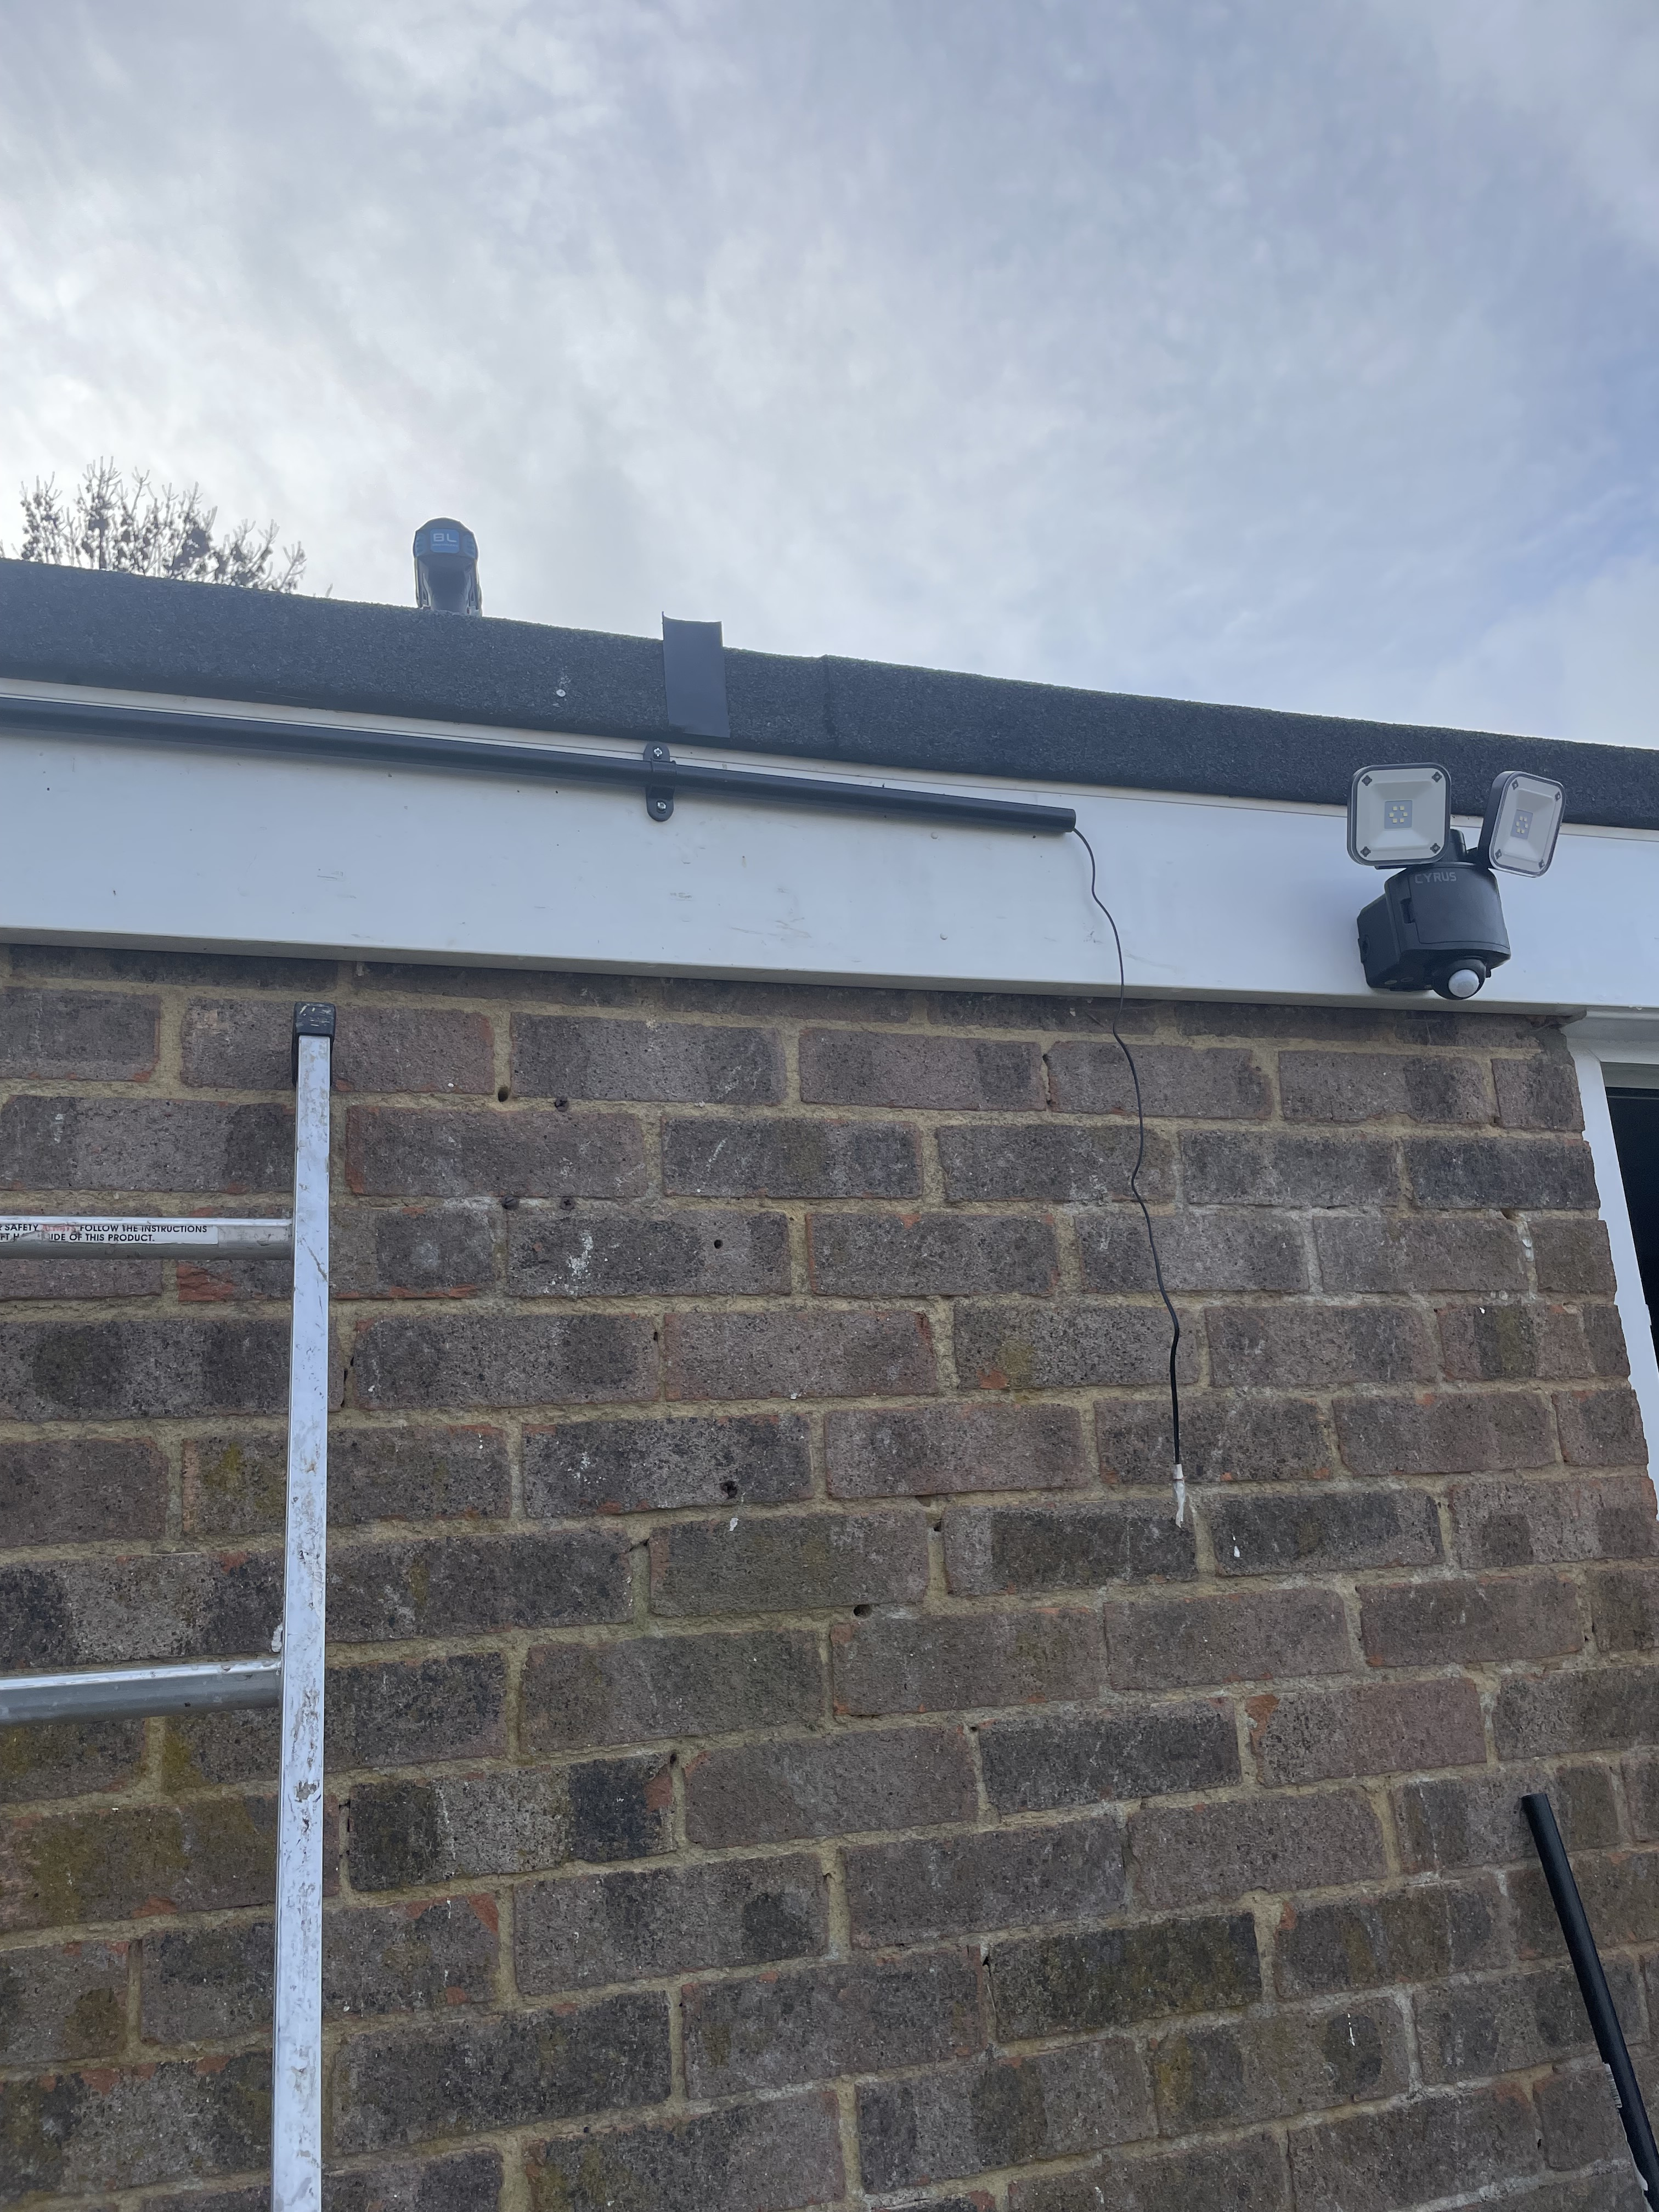
So, to improve its water-proofing and protect it from UV I bought some cylindrical black conduit from Screwfix. I don't think this is truly outdoors-grade but it's a lot better than than exposing the thin cable to the elements. As the diameter of the conduit is several times wider than the cable, it can be used for additional cabling down the line, should I need it.

This left the cable loose at the terminals so I bought some flexible trunking to protect the cable at the joins. (This is also intended for indoor use so I'll have to see how well it lasts.) I joined the trunking to the conduit with self-amalgamating tape for a water-tight seal.

I'm happy with the appearance and think it looks quite professional.
As for the device itself, the performance is as good as the reviews suggested. The LED luminosity is very bright and the sensor is effective. (Perhaps a bit too effective since I've noticed it being triggered by spiders weaving webs around the light.) After a couple of days I removed the back-up batteries to see how well the solar panel was working. I waited two days before putting them back, and the light functioned exactly the same as it did on battery power throughout this period. (For the last few weeks, we have mostly had cloudy, rainy days with only occasional bursts of sunlight.)
Other than the spiders, the only other main drawback is that it requires C-type batteries. As rechargable batteries of this type are hard to come by it meant I couldn't use a high-quality brand like Eneloop. I had to go for the least-worst Chinese-branded batteries I could find on Amazon if I wanted to use rechargables.
Ideally I would want some visual indicator of the current capacity of the solar battery and the back-up batteries but for a device under £20 this is probably asking a bit too much.
Mostly due to me over-engineering the cabling, the total cost of this project was £60.17.
| Product | Cost |
|---|---|
| Auraglow Hybrid Solar & Battery Twin LED Security Light (B&Q) | 15.99 |
| Round conduit and connectors (Screwfix) | 17.52 |
| Flexible trunking (Amazon) | 6.15 |
| Self-amalgamating tape 10m (Amazon) | 6.52 |
| EBL 5000mAh C-type recharageable batteries (Amazon) | 13.99 |