4.6 KiB
| title | slug | date | tags | ||
|---|---|---|---|---|---|
| Installing a loft ladder and new loft hatch | /installing-a-security-light/ | 2025-11-18 |
|
I'm back with another thrilling tale of home improvement.
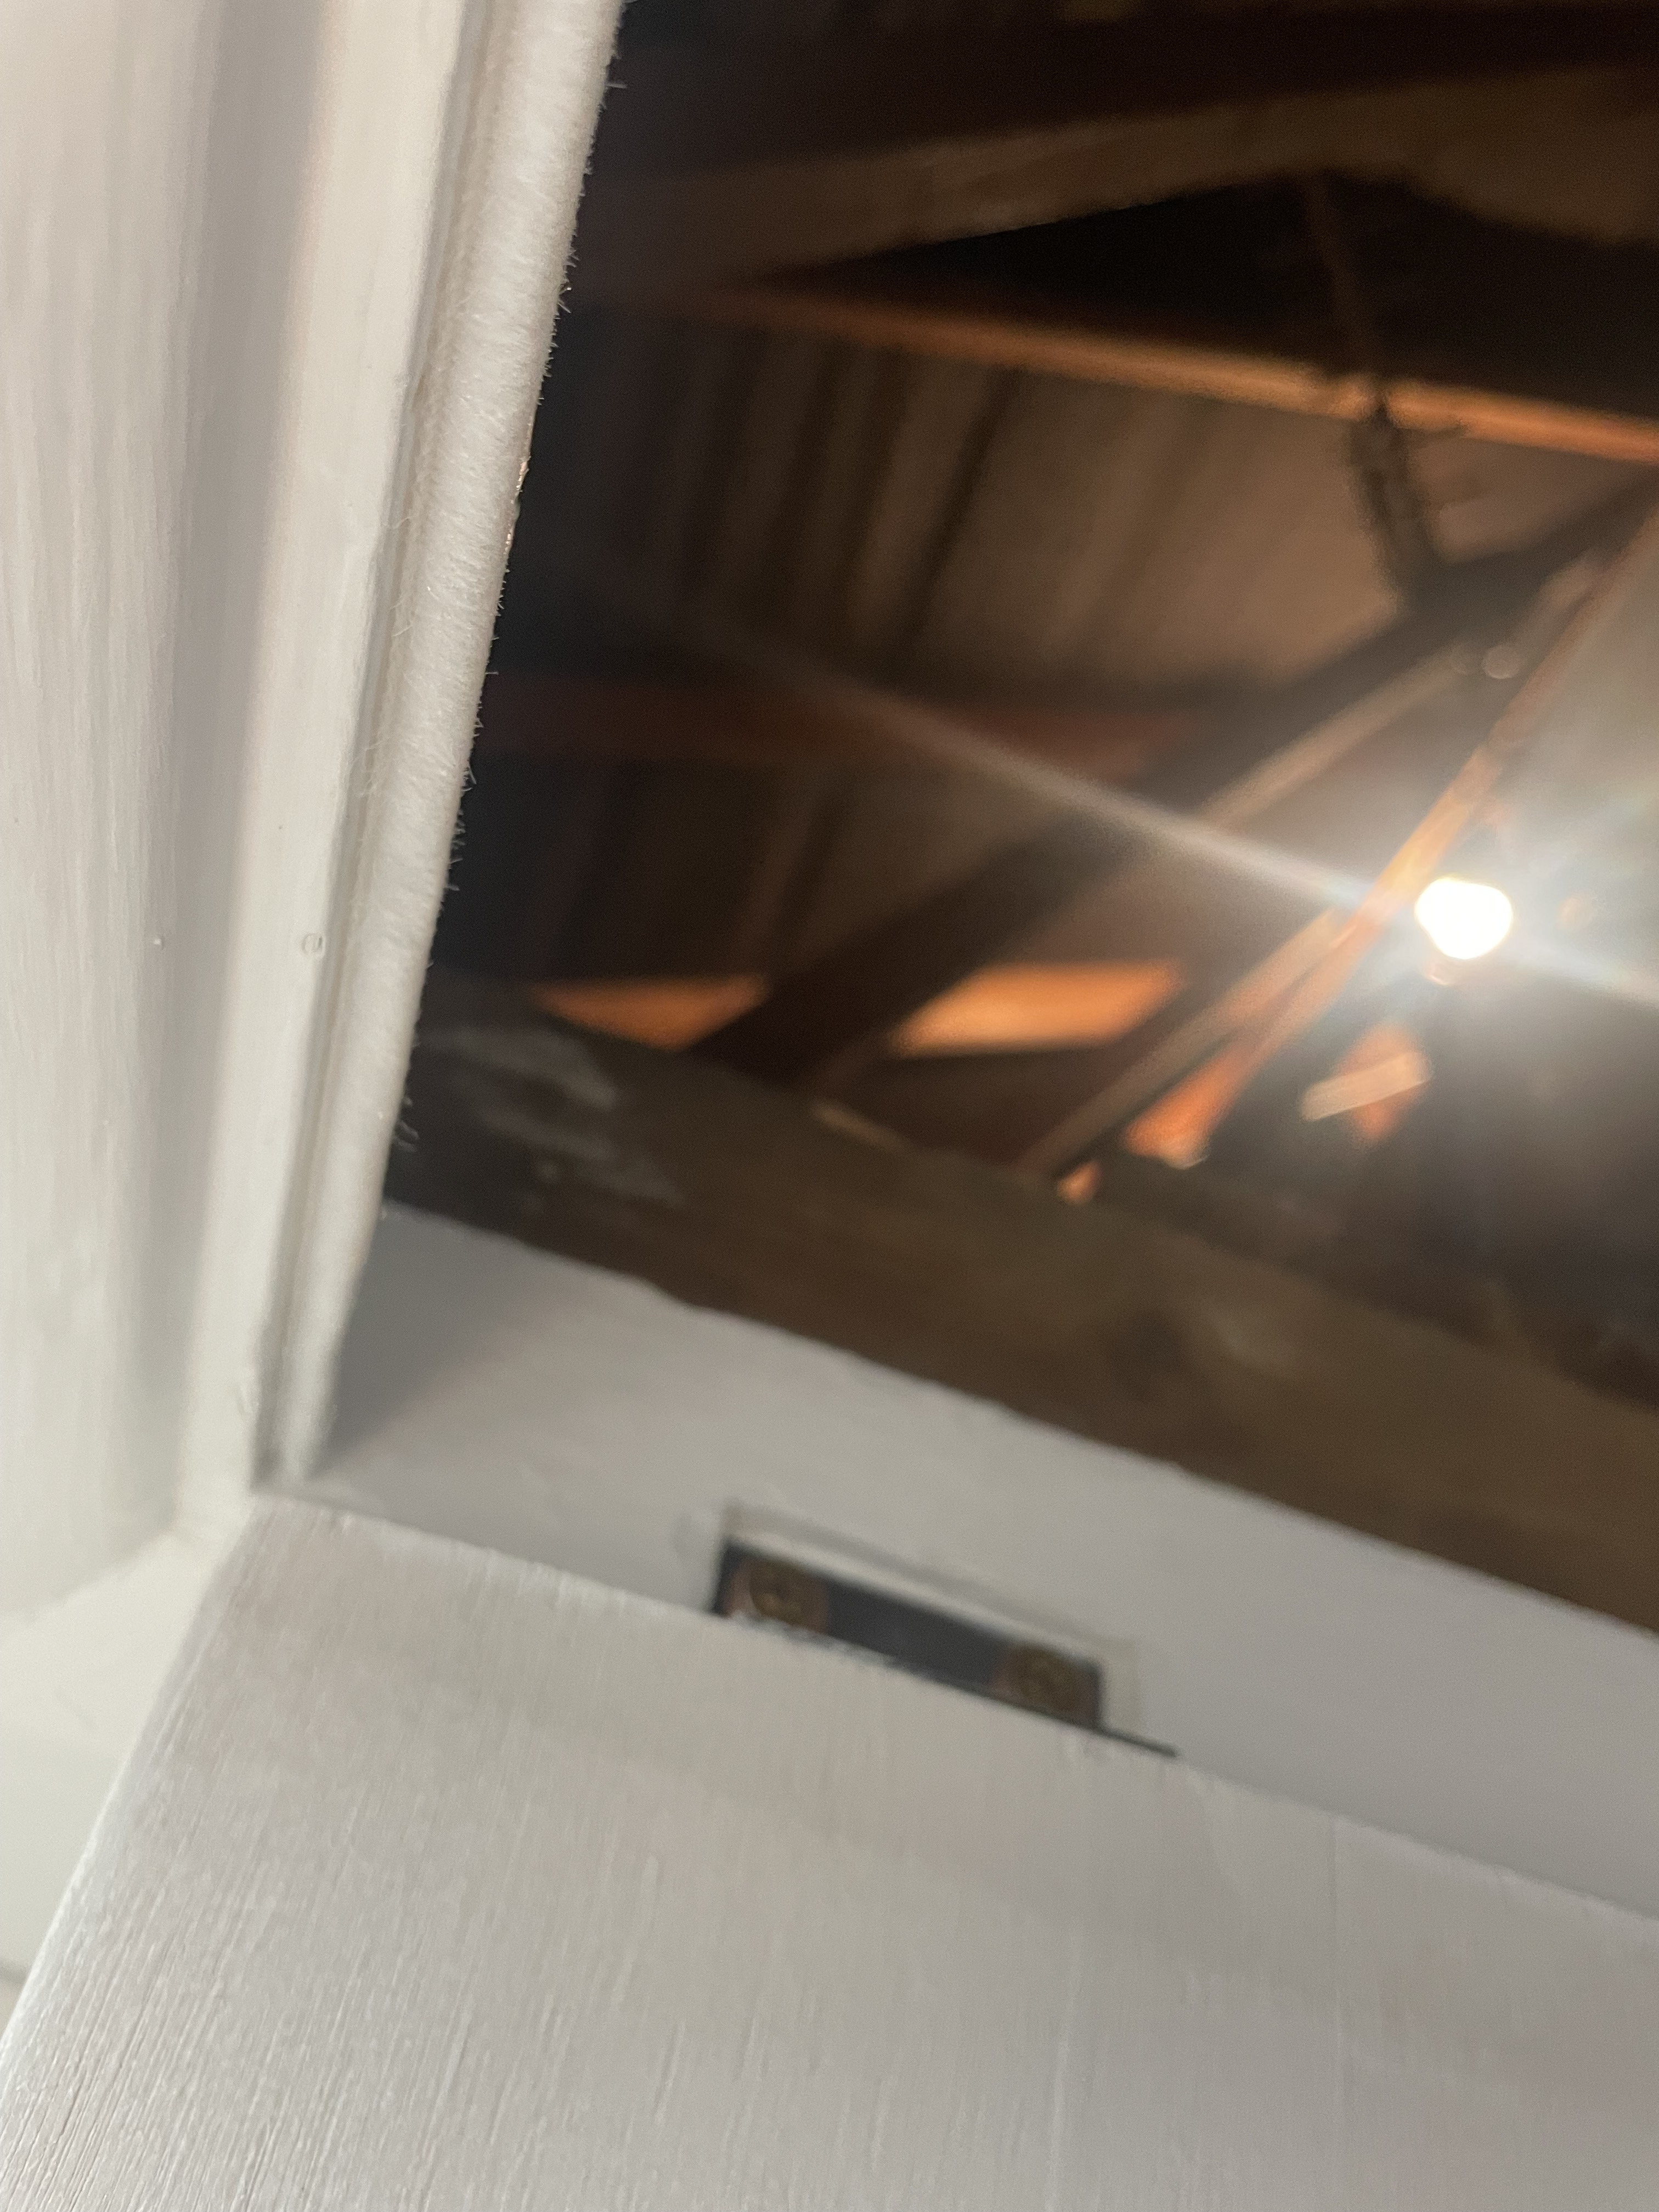
When I first moved in, there wasn't a loft ladder installed. So I had to use an outdoor ladder to access the loft. For some odd reason they installed the loft hatch in the bathroom which is inconvenient and risks exposing the loft space to moisture.
Installing a proper loft ladder and taking steps to reduce moisture was therefore high on my priority list.
Lofts are weird and bespoke so I was a bit nervous about buying an off-the-shelf ladder but I knew it would be cheaper than paying a professional.
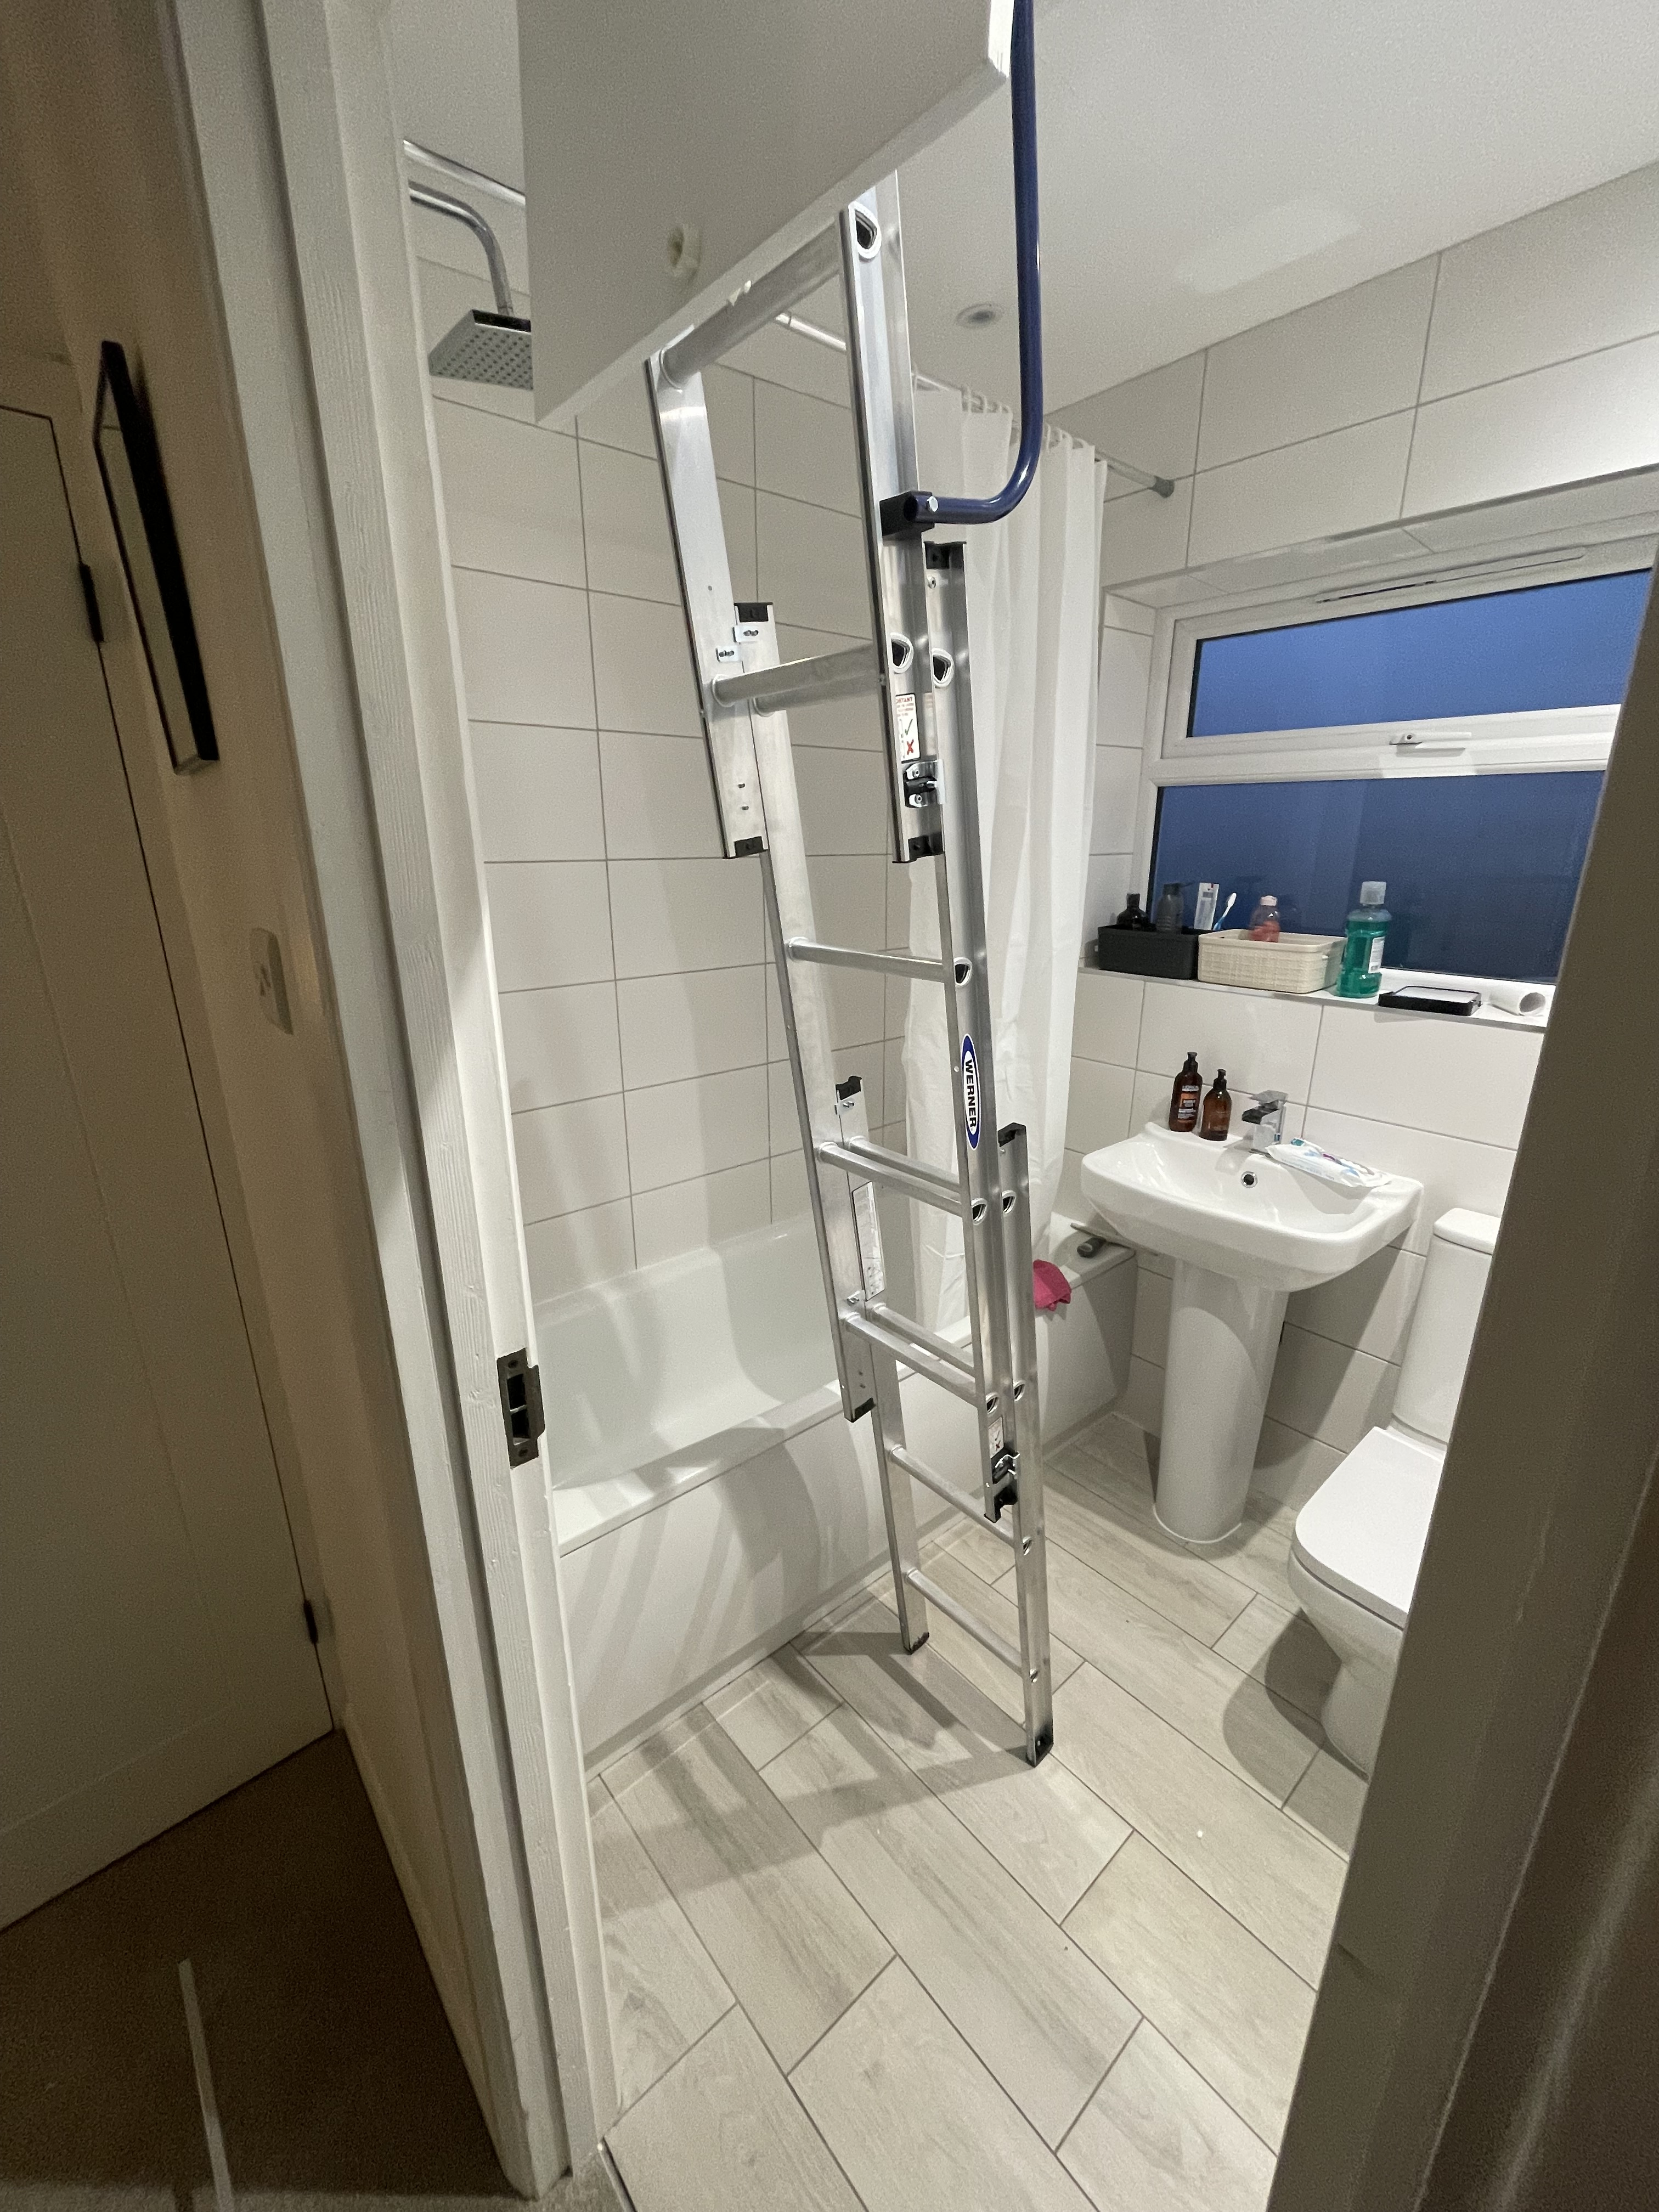
I opted for the "Werner 3 Section Easy Stow Loft Ladder" from Argos.
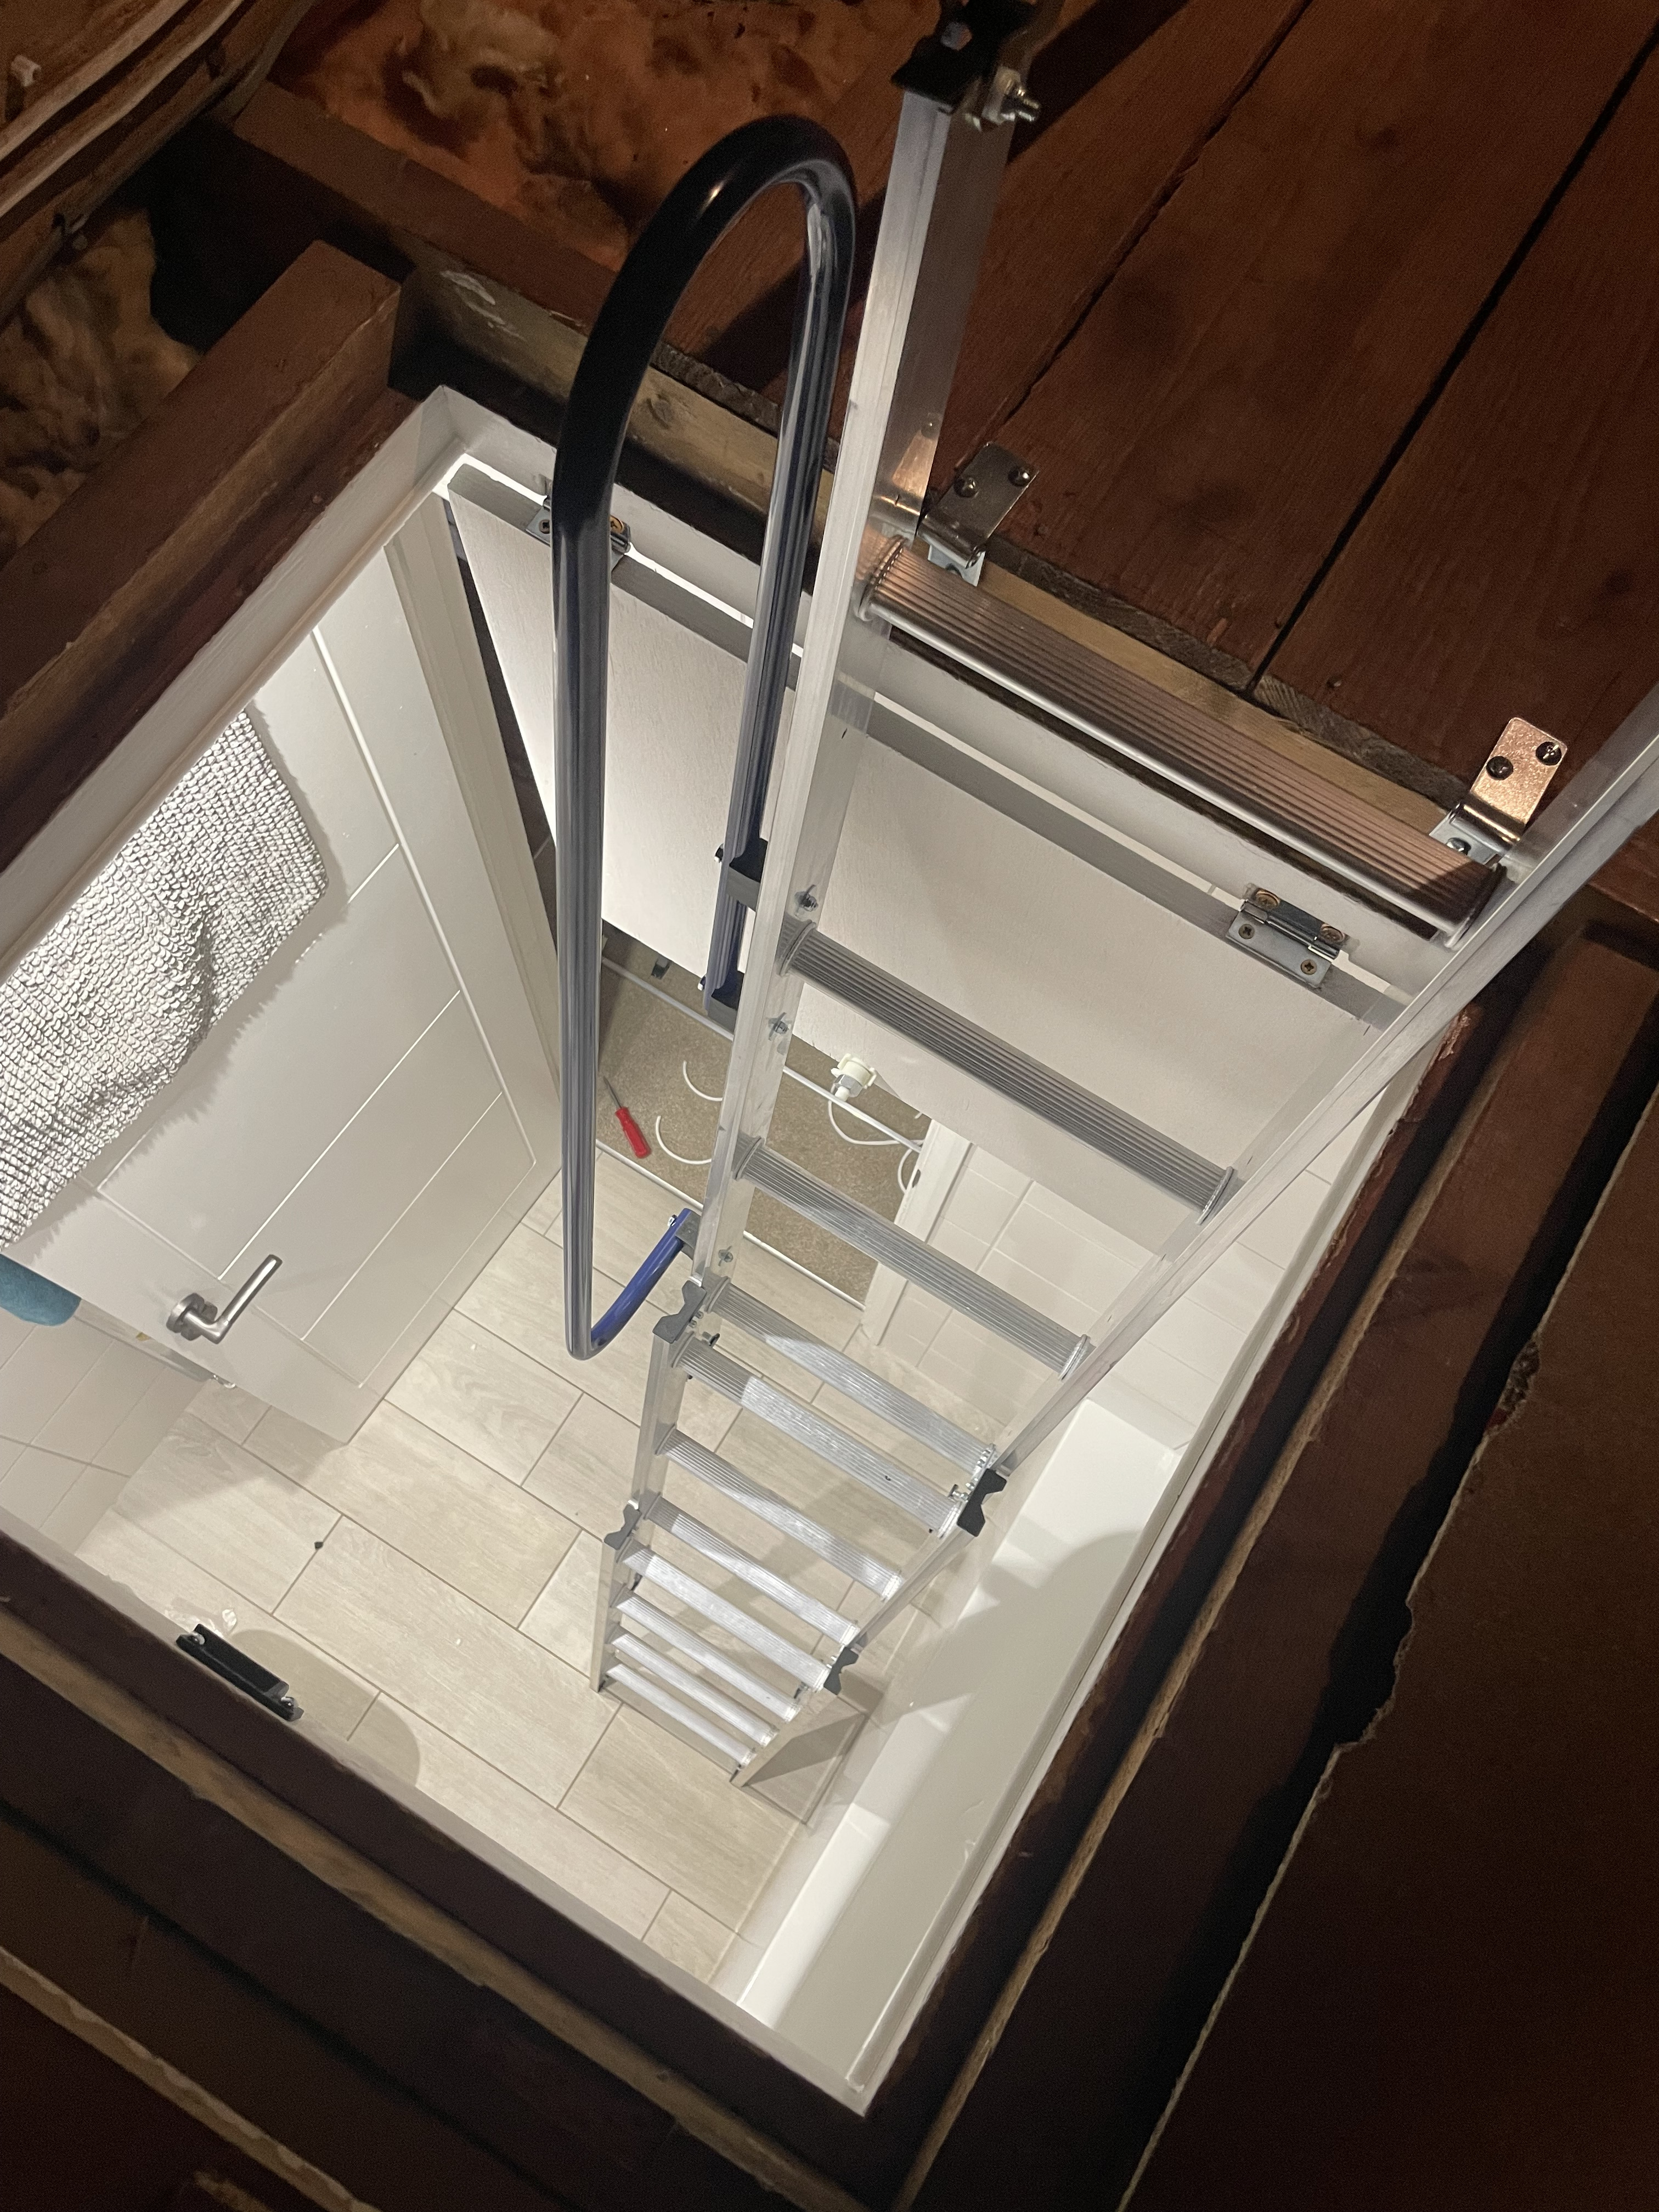
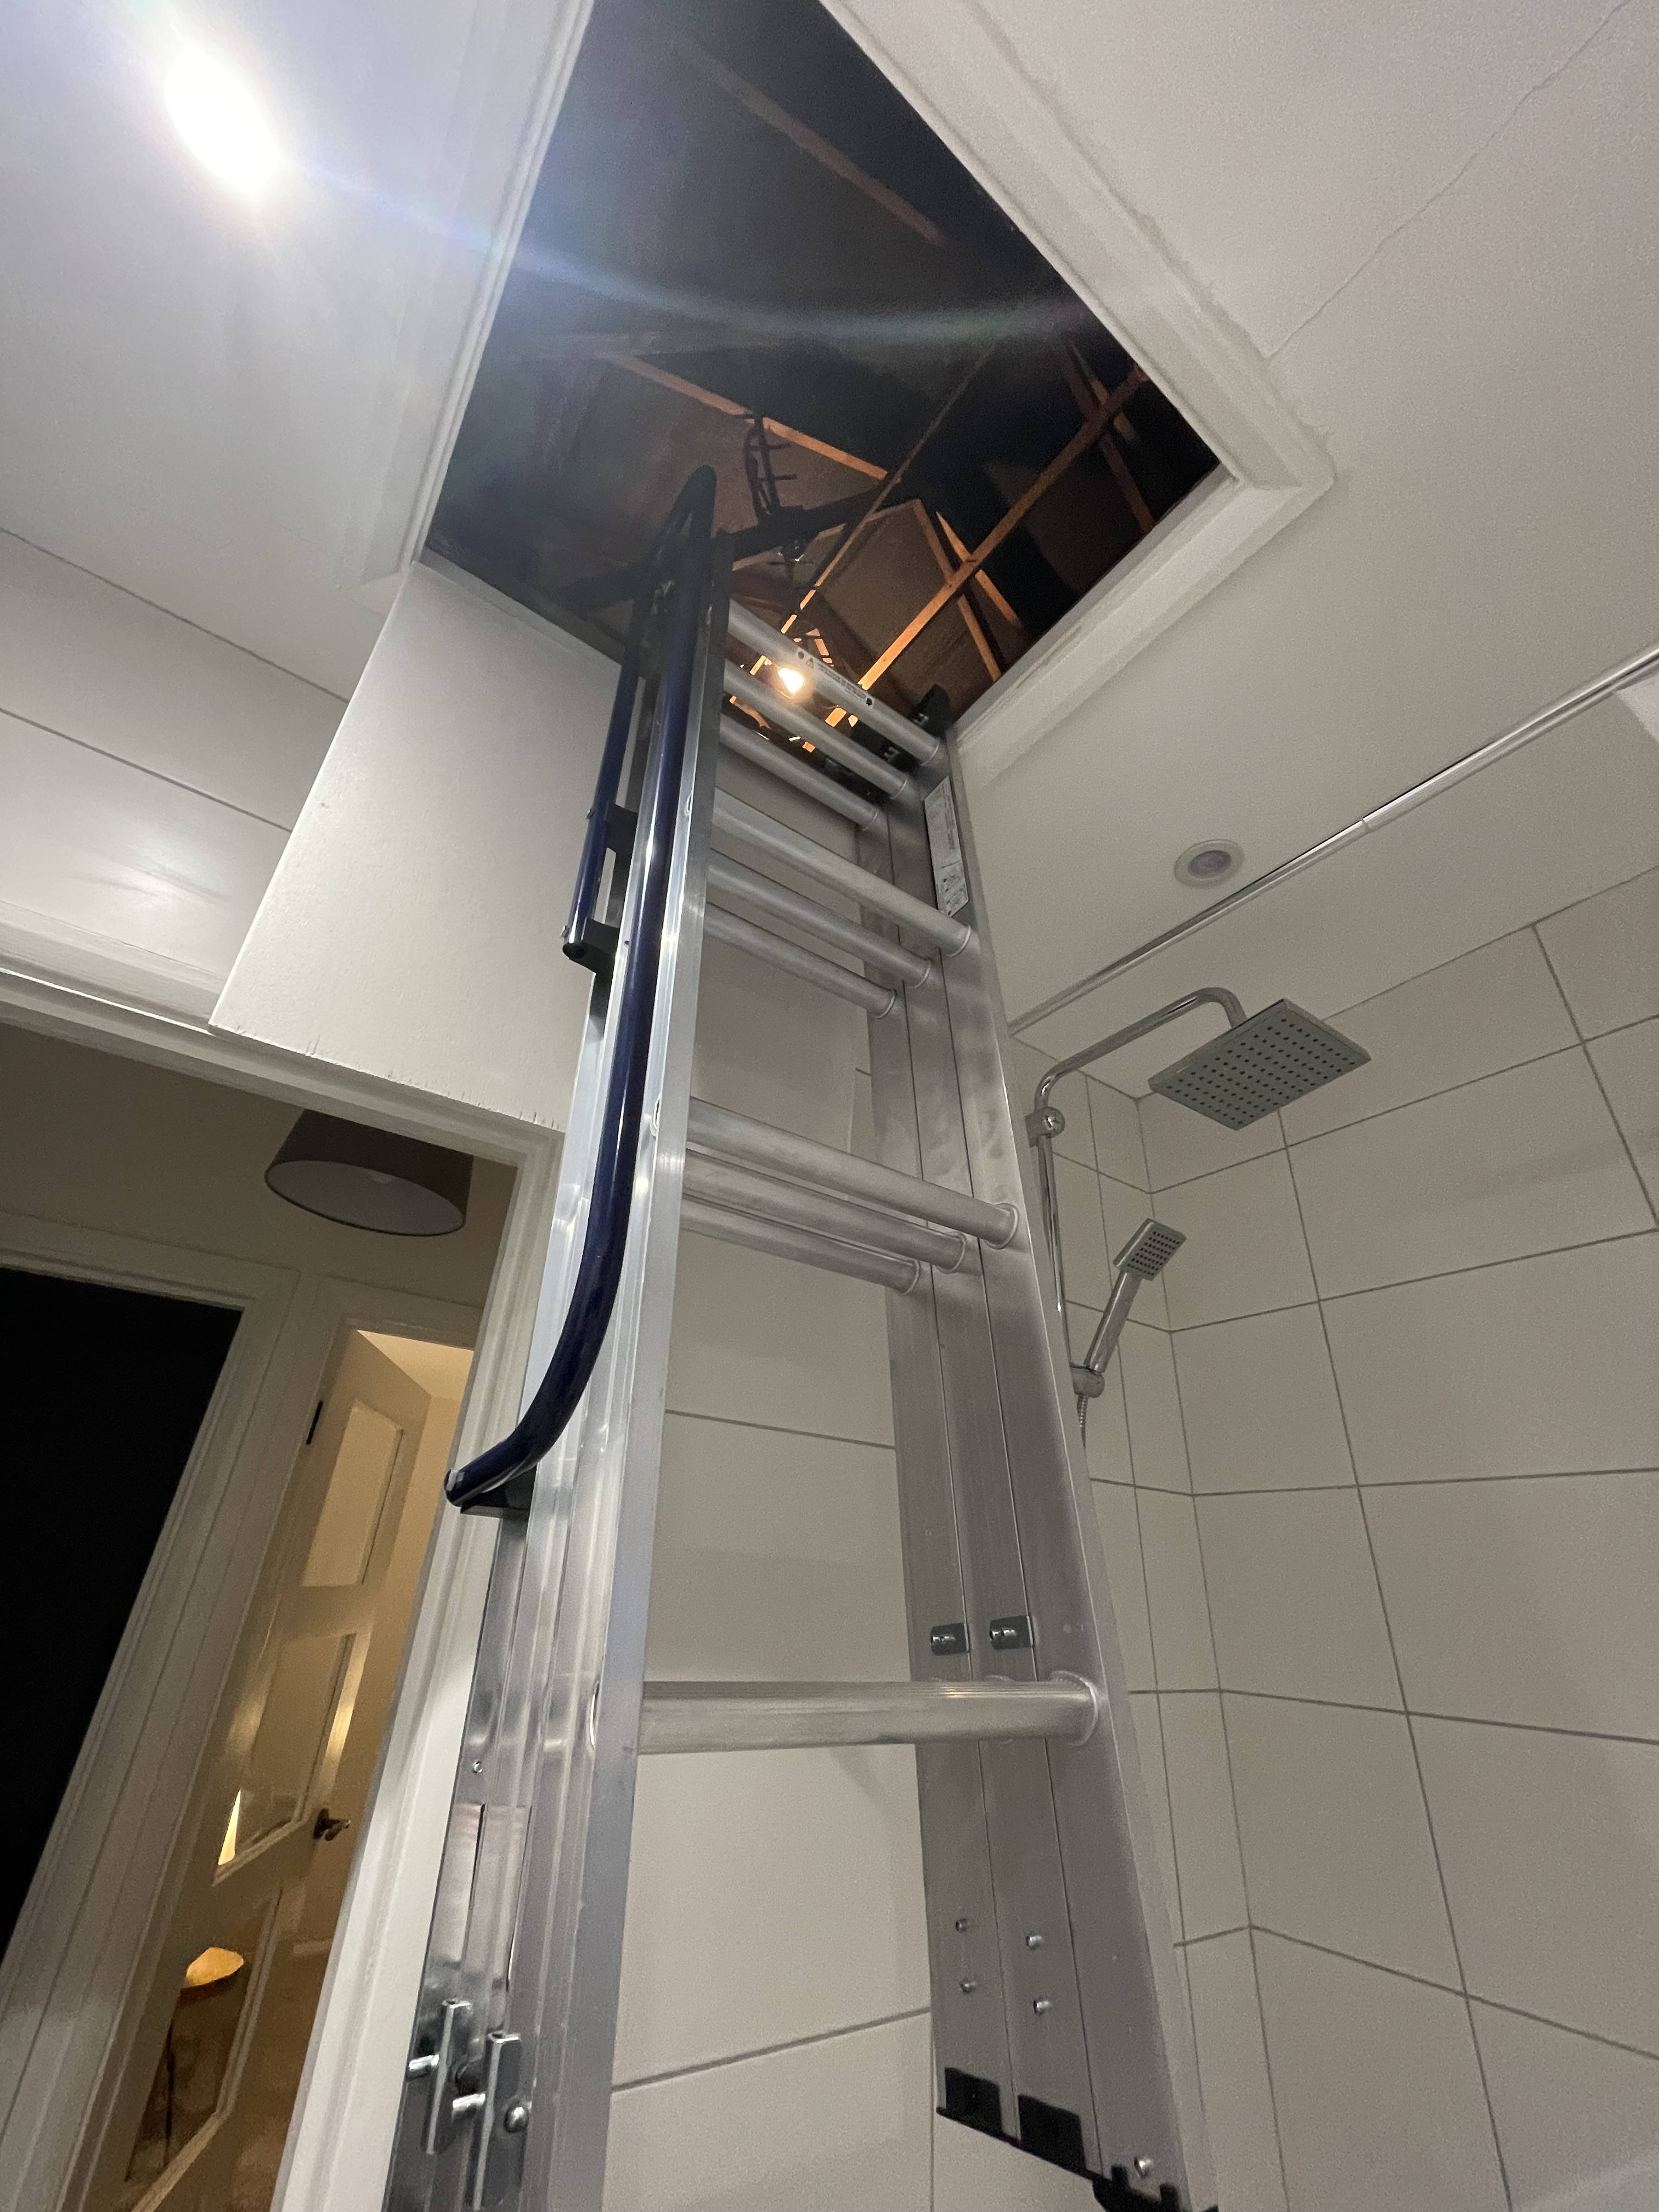
When I was about half-way through the installation, calamity struck and I realised that the existing hatch, which opened inward, would be blocked from closing by the ladder.
To overcome this problem, I would need to construct a new hatch that opened outward and that would hang down when the ladder was extended.
This turned into quite a side-quest and took far longer than the installation of the ladder itself. However it presented an opportunity to address the moisture risk.
I was mindful of moisture degrading the hatch-door so I did some research and realised that I needed what's called marine plywood. Basically, plywood treated to withstand moisture better than standard ply.
B&Q offer a cutting service where the first five cuts are free if you buy your wood from them. So I ended up having to buy a very large piece of marine ply and had it cut down to the size of the hatch. Alas, my measurements were off and it was too small. So I had to try again with the spare wood and a hand-saw. This time I was overly conservative and it was slightly too large, so I spent a long time using a surform plane to shave it down to size.

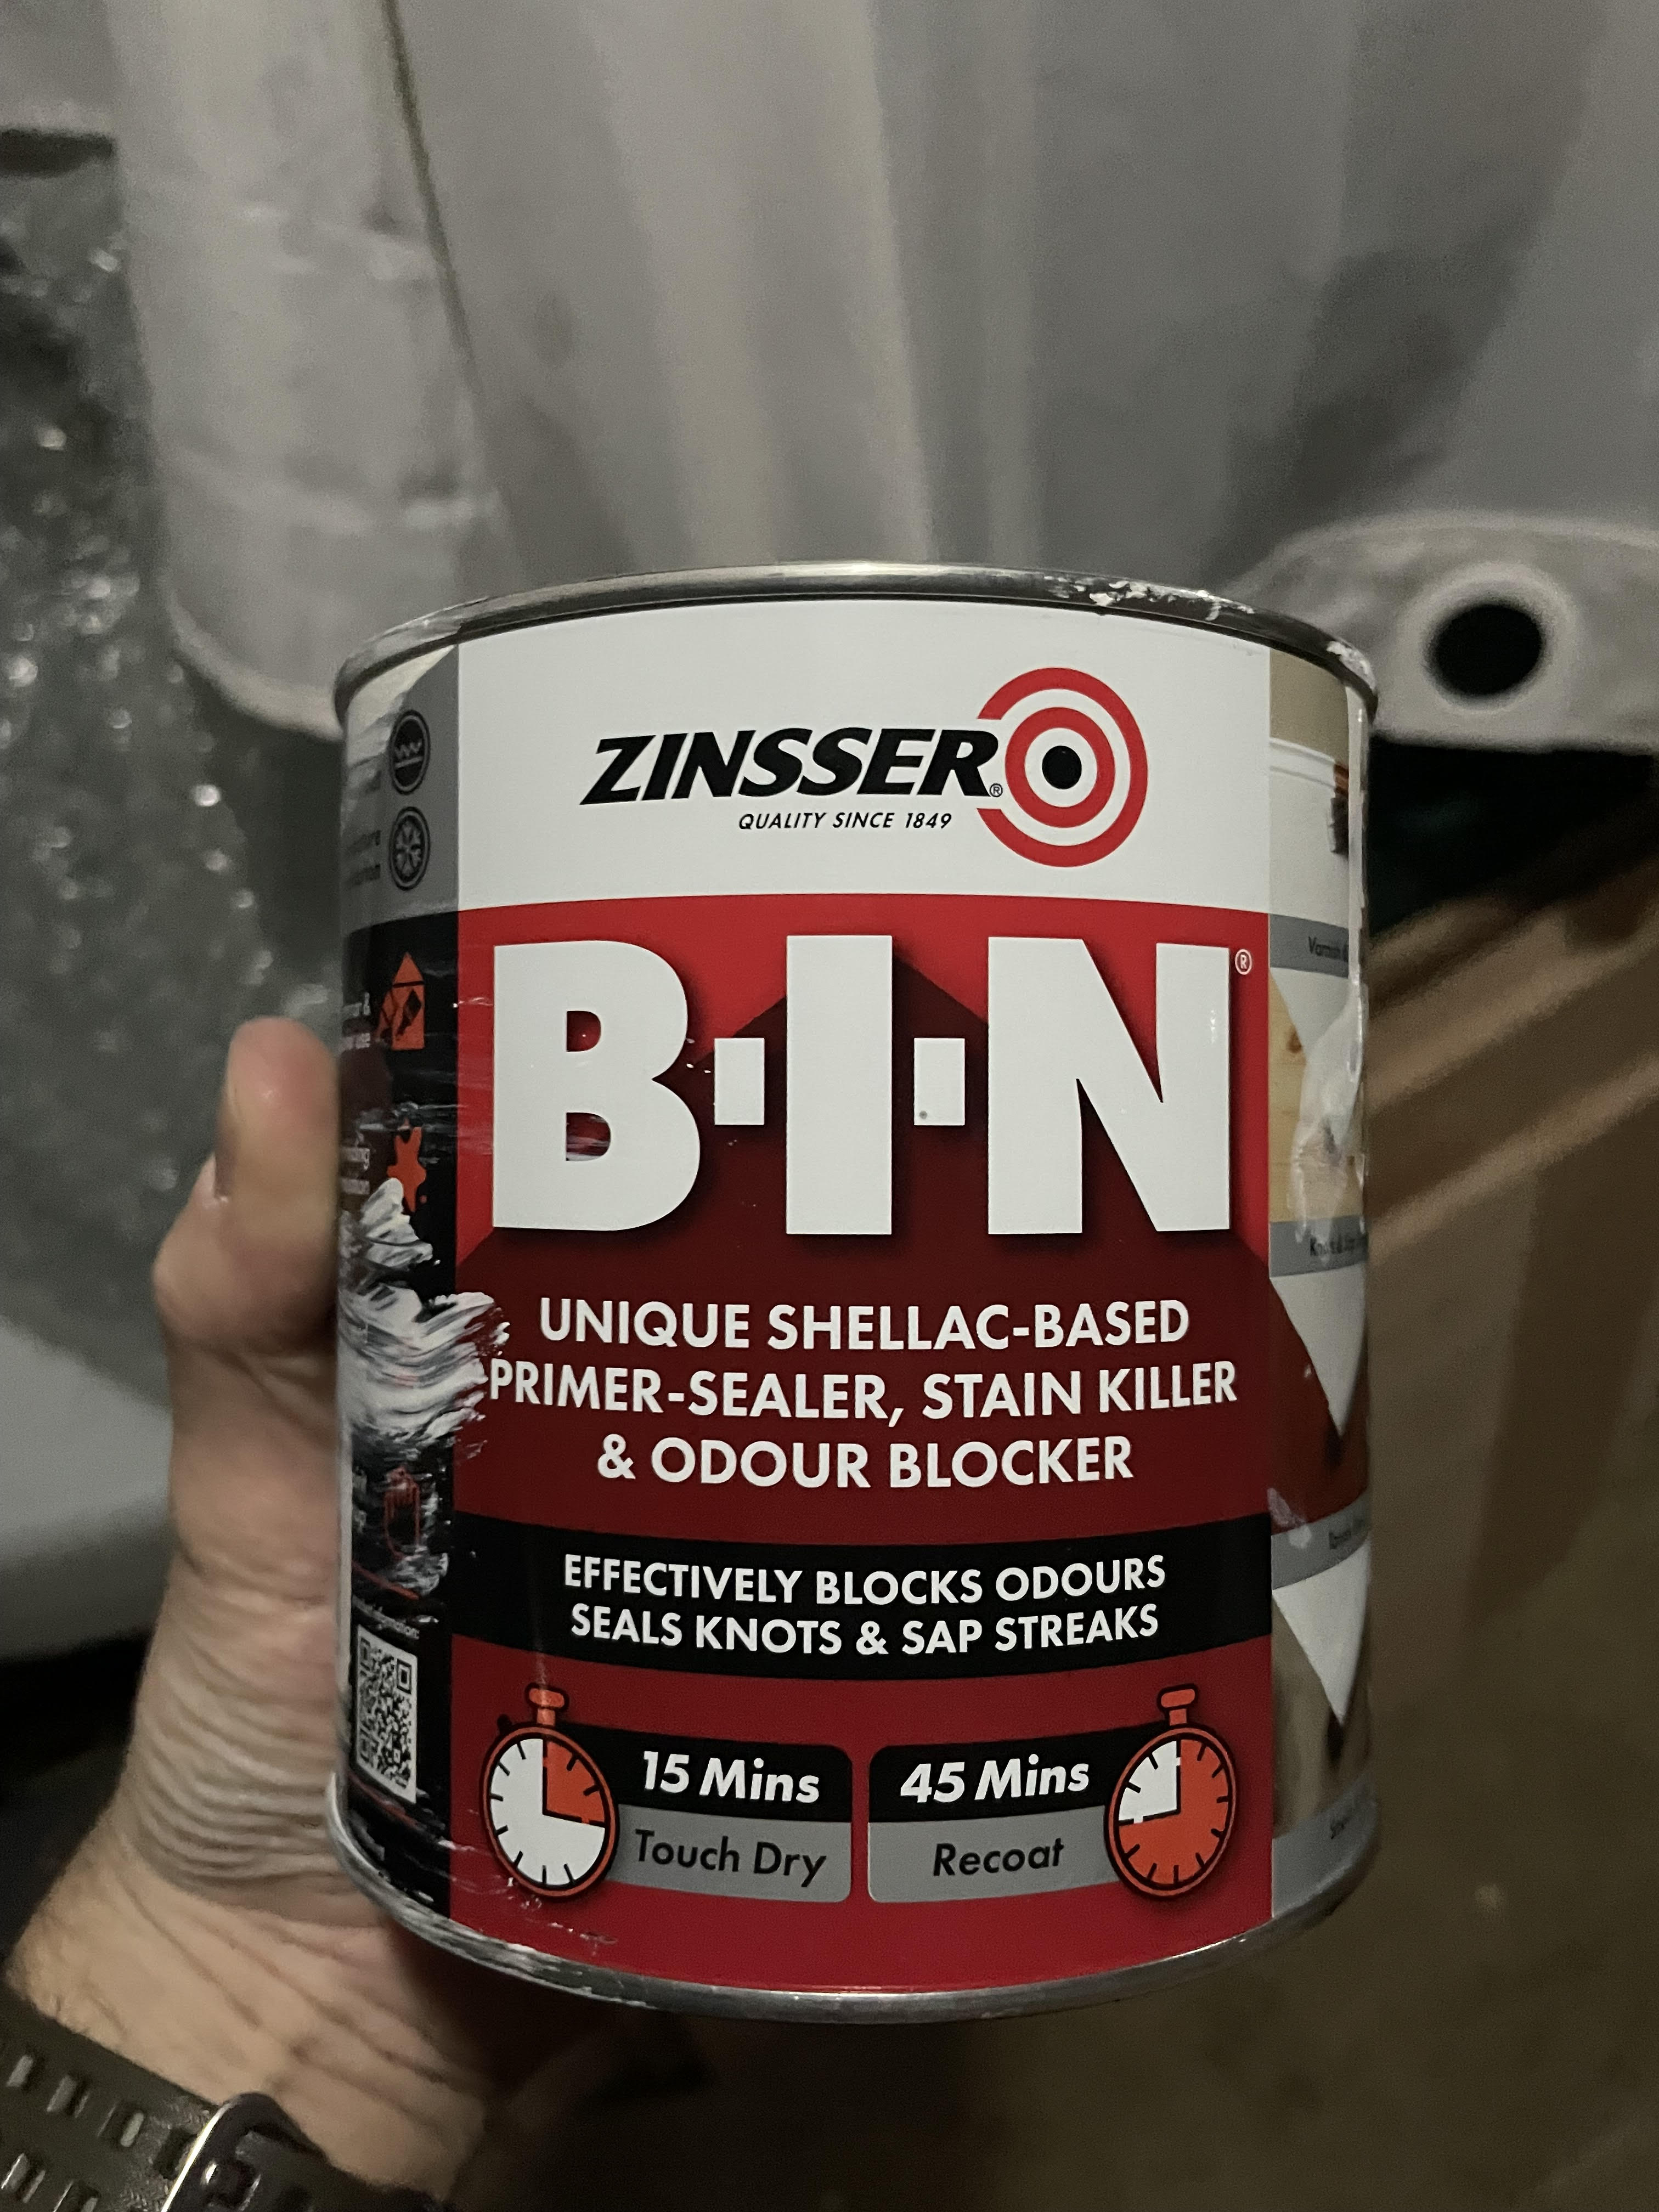
Finally, it fit the hatch nicely. Marine ply on its own provides some protection from moisture but to give it the best chance I bought some B.I.N primer which is designed to protect wood in moist environments like kitchens and bathrooms.
After applying the primer I applied two coats of standard satin wood in brilliant white.

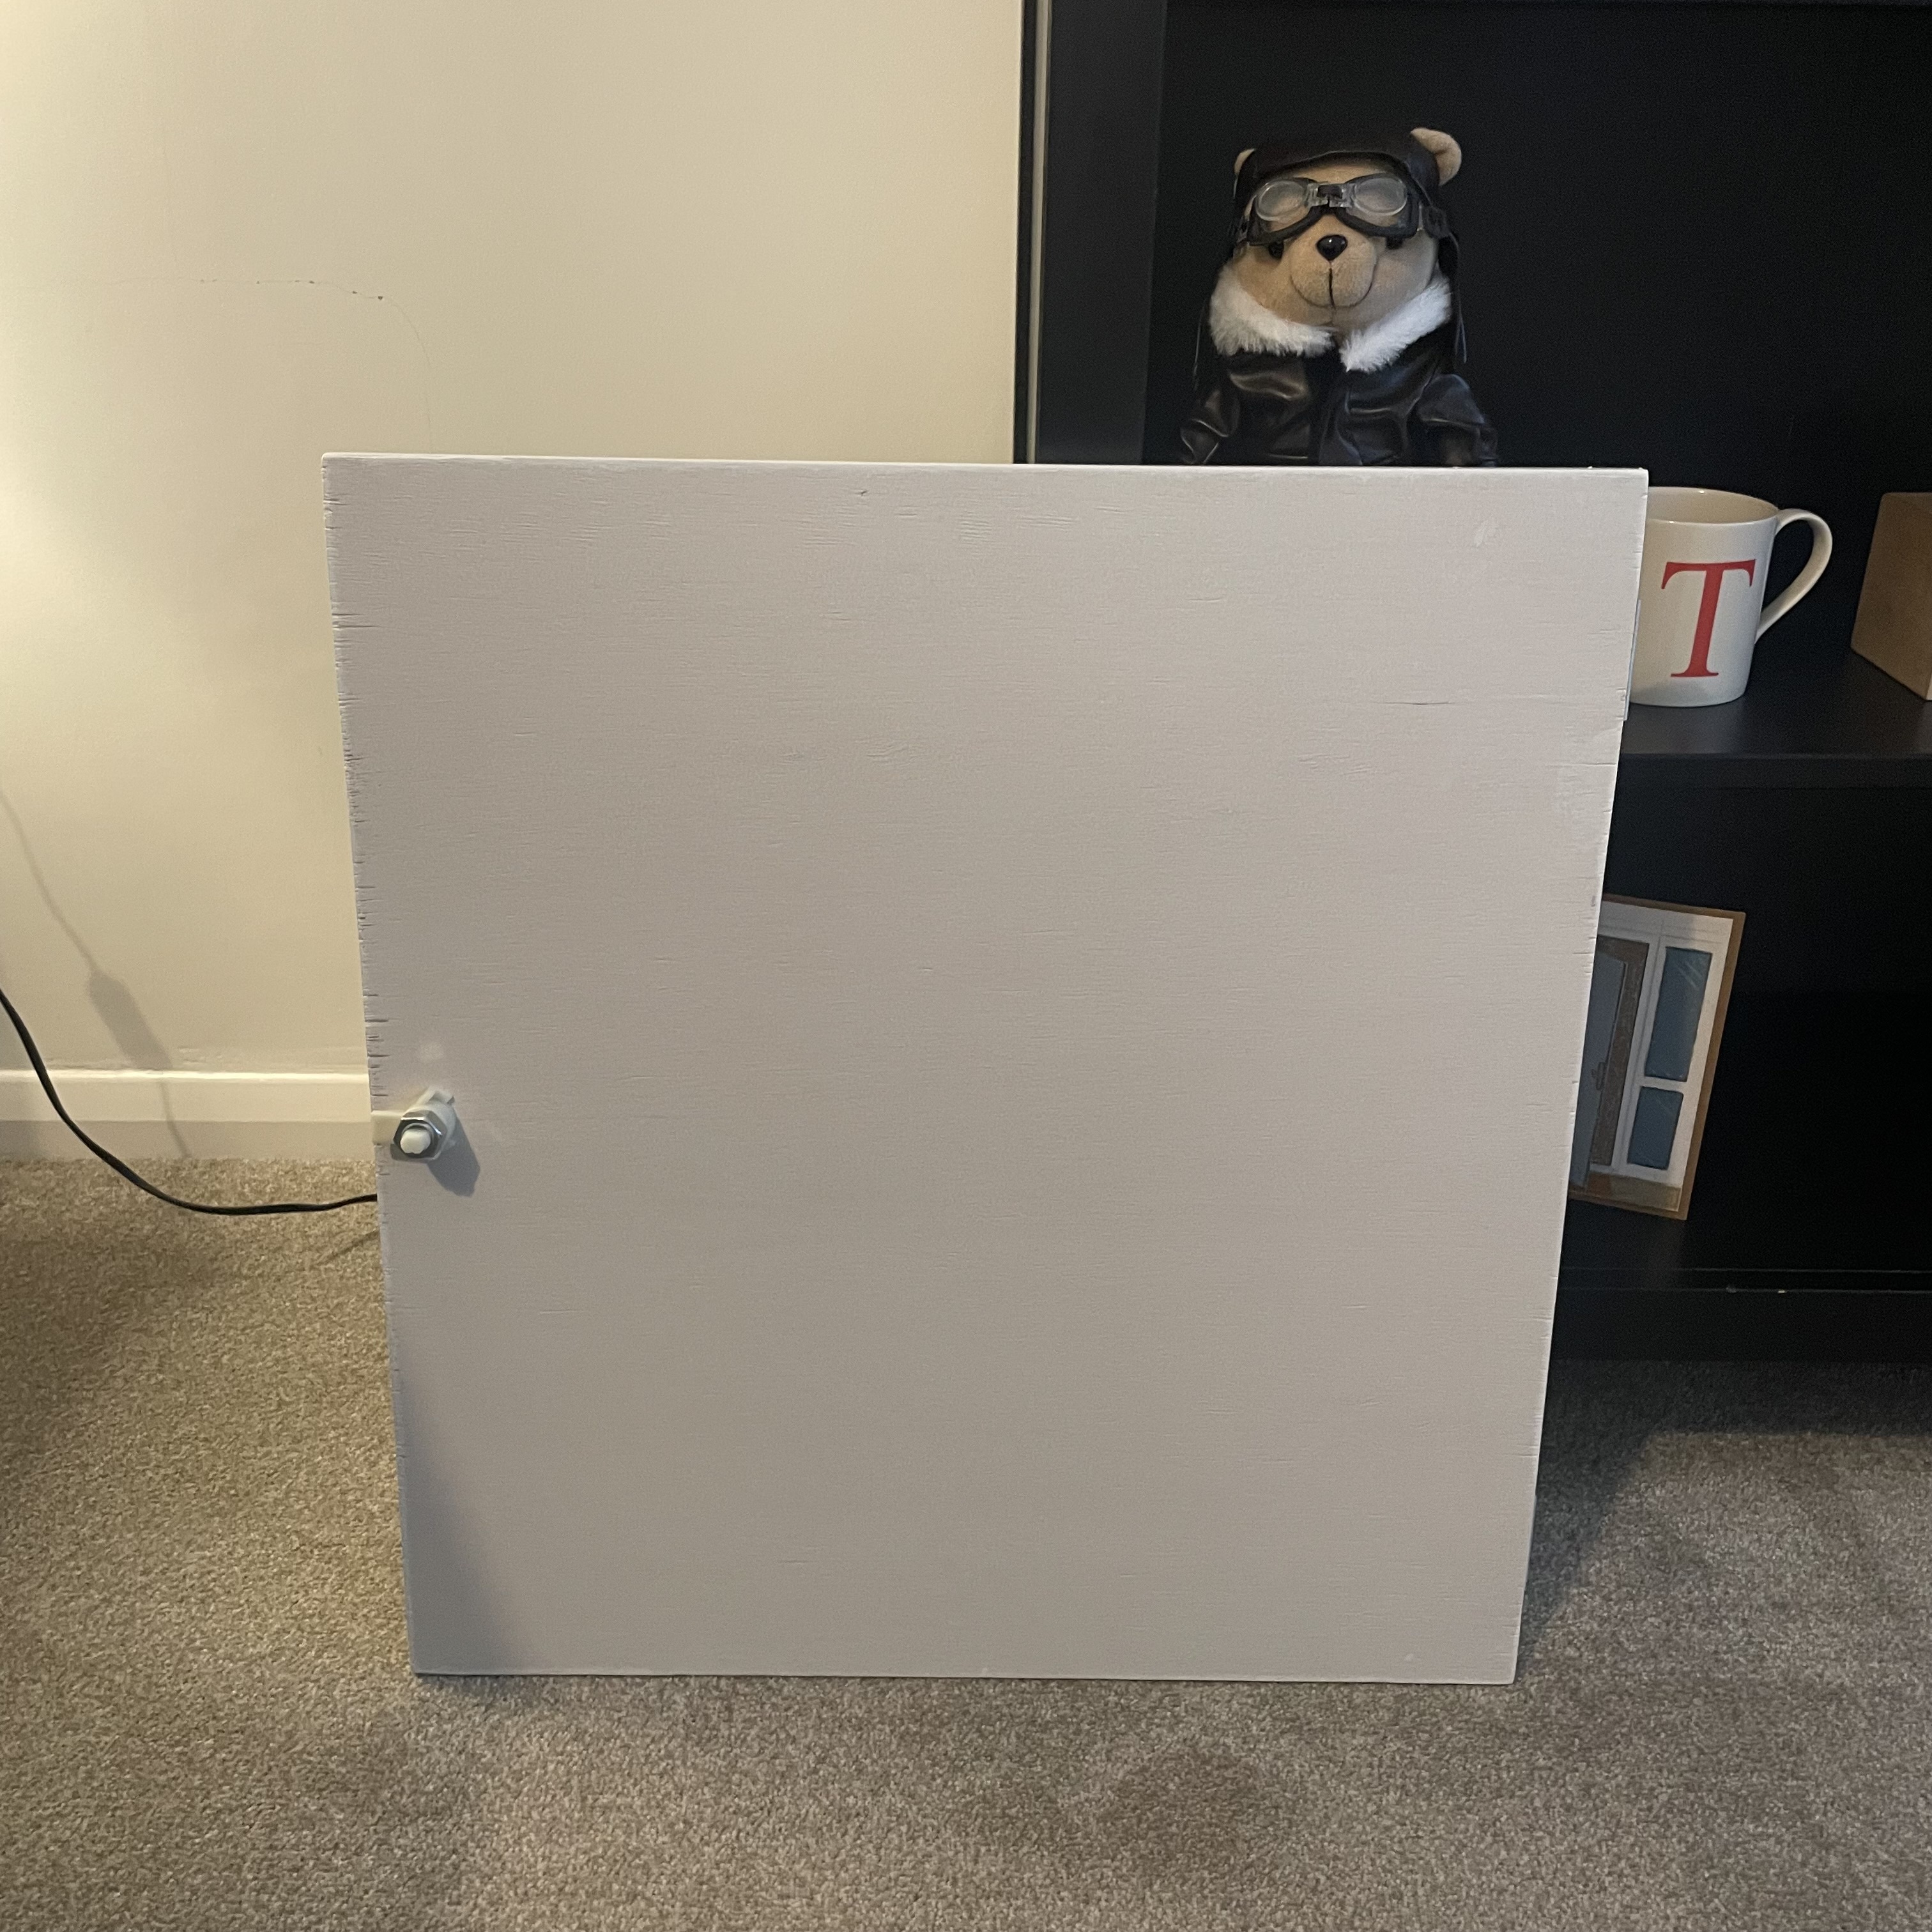
Whilst the hatch did fit, there were annoying gaps on the left and the right side. This is the sort of thing that gets ahold of me and burrows into my subconscious because I am both a perfectionist and a highly average handiman.
But then I had a brainwave and realised I could apply some white self-adhesive draft excluder to both hide the gaps and reduce draught/moisture getting into the loft.
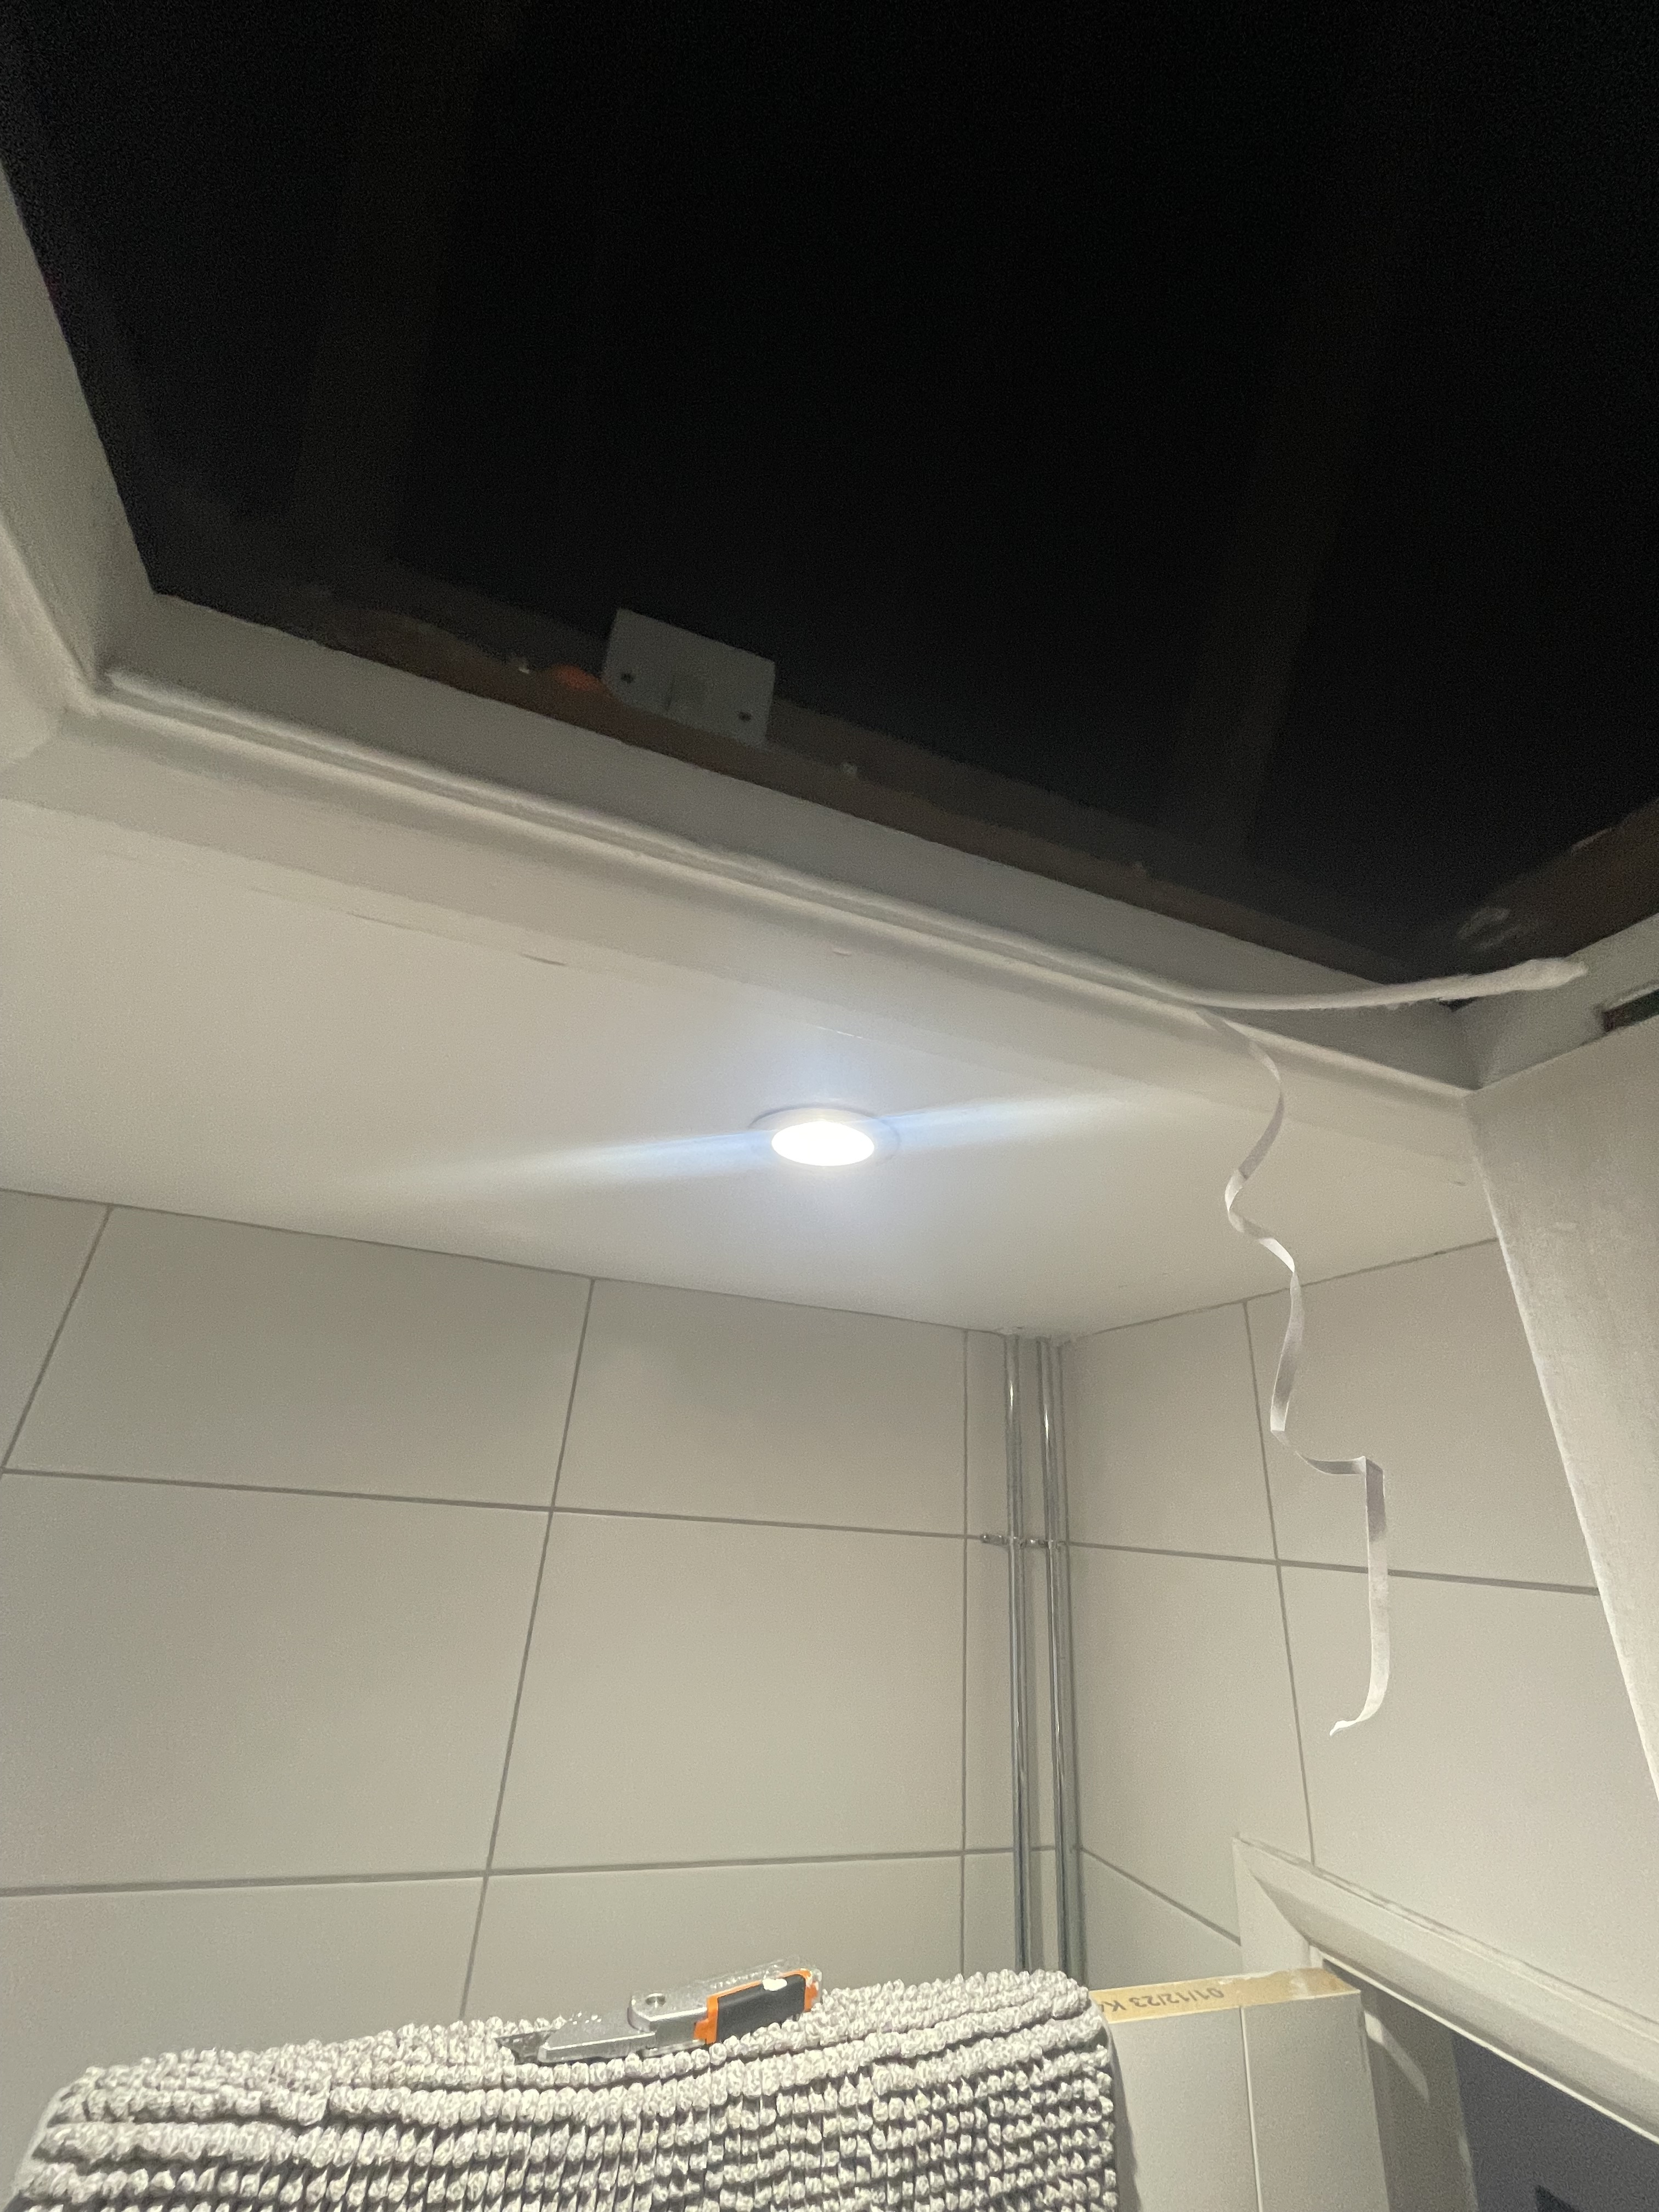
Also, the caulking around the hatch architrave was cracked and moist. So I scraped it out and applied new caulk designed for bathrooms. I didn't bother to paint over so it doesn't look amazing but the bathroom ceiling is already in a bad way so I will leave that until I have it replastered and properly treated.

With the hatch problem finally resolved I could finish installing the ladder. This was mostly straightforward. With the ladder extended the hatch is very small and I have to maneuvre myself sideways at the top to get through. Still, this is much more convenient than bringing a dirty ladder into the bathroom every time I want to access the loft.
Overall, this project probably cost more (£201) than it would to just have a specialist install it but, on the plus side, I learned about marine ply (and have plenty spare) and B.I.N which seems to be the gold standard of primers. I also now have an intimate and god-like knowledge of my loft hatch and how many people can say that these days?
| Product | Cost |
|---|---|
| Werner 3 Section Loft Ladder (Argos) | 89.92 |
| Marine plywood (B&Q) | 65.00 |
| Stanley 40mm Plastic Surform Plane (Amazon) | 15.99 |
| Zinsser B-I-N White Multi-surface Matt Primer 1L (B&Q) | 24.00 |
| Self-adhesive draught excluder 6m | 6.49 |